
Warning: Attempt to read property "title" on bool in /home/xs533301/biz-sel.com/public_html/wp-content/themes/affinger-jet-child/functions.php on line 113
Warning: Attempt to read property "description" on bool in /home/xs533301/biz-sel.com/public_html/wp-content/themes/affinger-jet-child/functions.php on line 119
Warning: Undefined variable $sc_Linkcard in /home/xs533301/biz-sel.com/public_html/wp-content/themes/affinger-jet-child/functions.php on line 145
VCCWでWordPressのローカル環境を作る方法が知りたい!

そんなお悩みを解決します!
この記事を書いた人

ゆめ ただ
グログ歴 5年目。
普通のビジネスマンとして働きながらFIREを目指す。
独学でゼロからブログを立ち上げる。
Dockerのローカル仮想環境を作りLinux環境も触るように。
4年目でSEO検定1級に合格し地道にスキルアップ。
次はWordPress以外のCMSに手を出そうか悩み中。
VCCWとは?
VCCWとは何でしょうか?
VCCWのWordPressローカル環境
本記事で説明する「VCCWのWordPressローカル環境」です。
ゆめただが実際に自分のパソコンで立ち上げた時の方法です。
VCCW関連の記事を調べて複数の記事の内容を試し、成功した結果をまとめています。
VCCWのWordPressローカル環境イメージ

レンタルサーバーの機能を、VirtualBoxを使い仮想環境を作り実現します。
Vagrantで仮想環境を設定してVirtualBoxを起動し、WordPRessを動かします。
本番環境とローカル環境の同期
本記事では、本番環境とローカル環境の同期方法についても説明します。
ローカル環境ができても、本番環境からデータを持ってきたり、
ローカルの記事を本番に持って行ったり、
相互にデータのやり取りができないと意味がありません。

動作環境【参考】
ゆめただが立ち上げた時のローカルの環境です。
参考にしてください。

VirtualBoxのセットアップ
仮想環境を作るVirtualBoxをセットアップしていきます。
VirtualBoxダウンロード
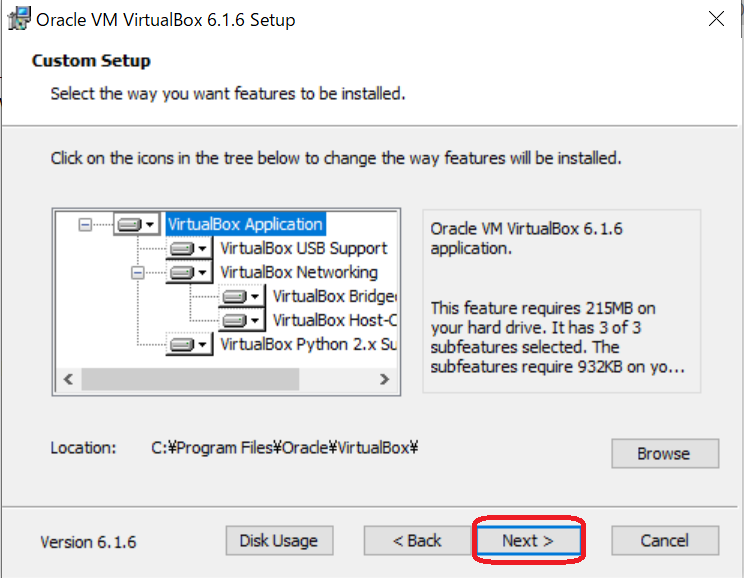
VirtualBoxインストール
ダウンロードしたインストーラーをダブルクリックして起動します。
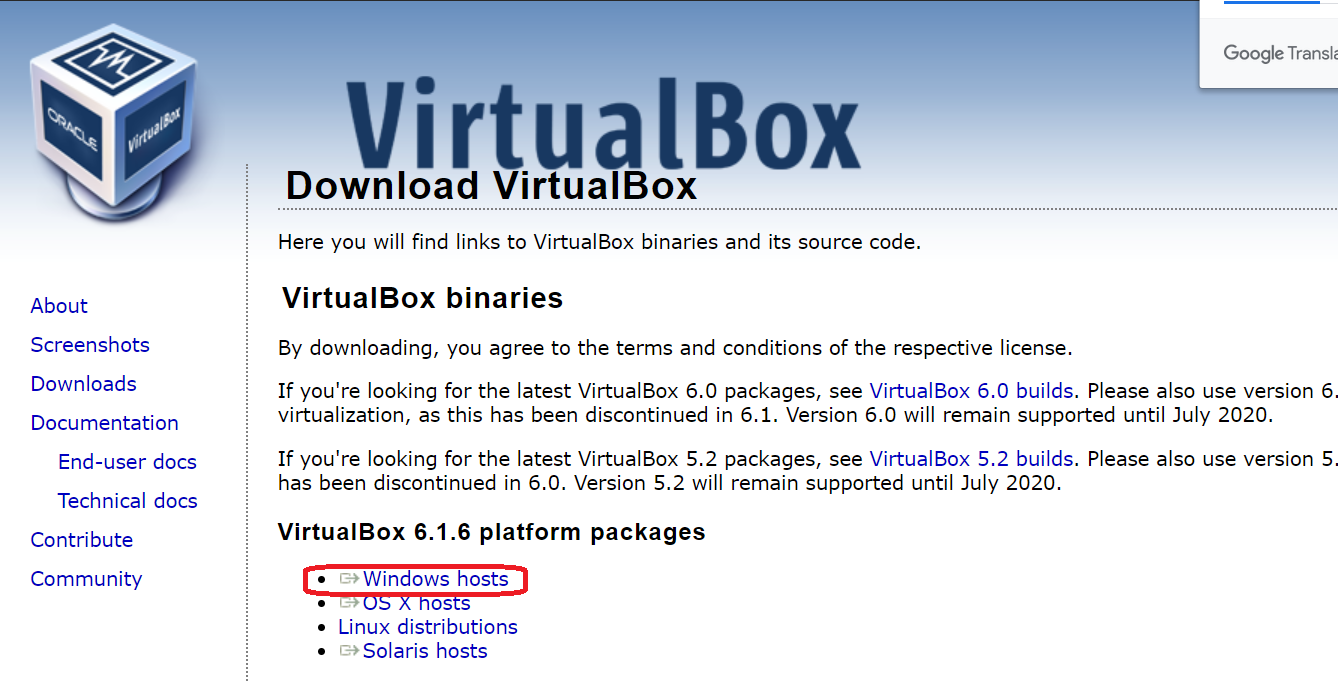
プラットフォームを選択します。
ここでは、「Windows hosts」を選択します。
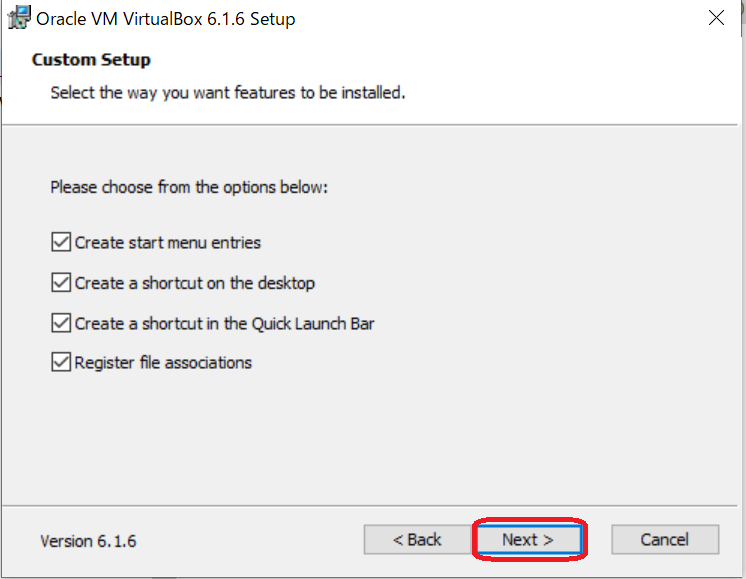
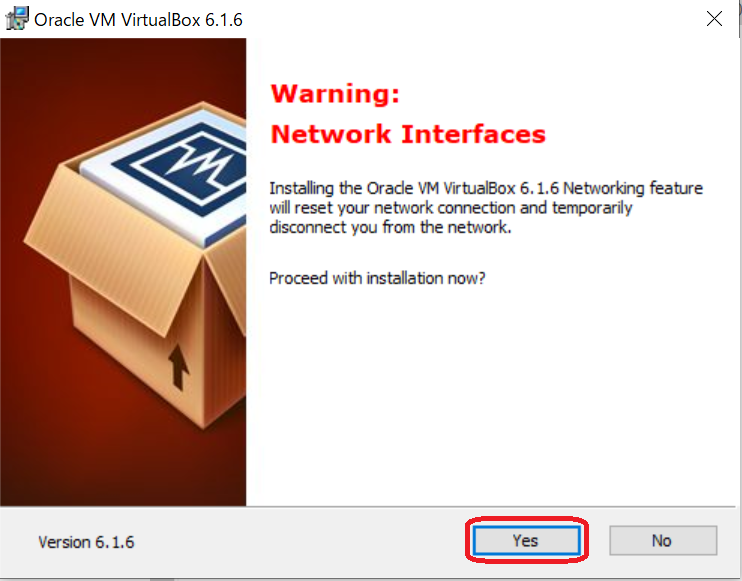
インストールを進めます。
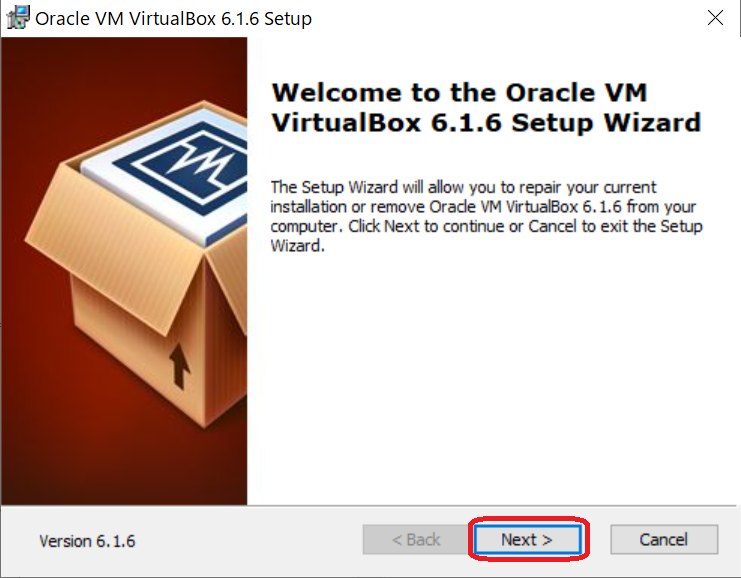

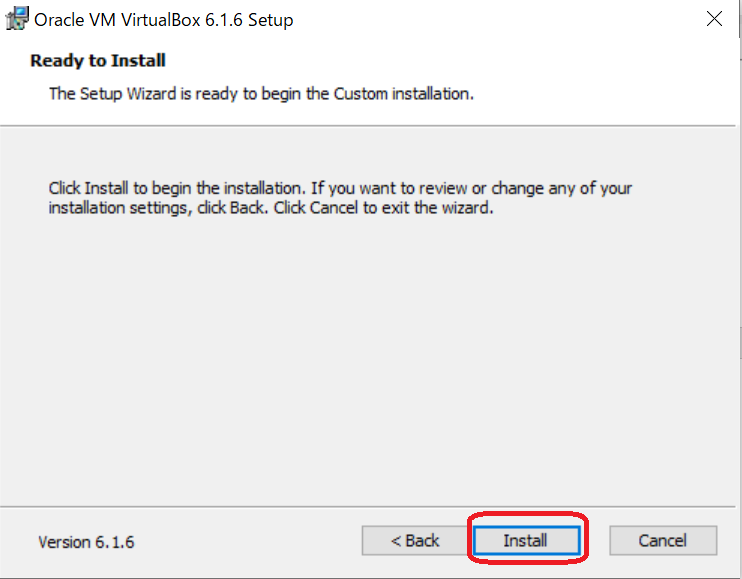
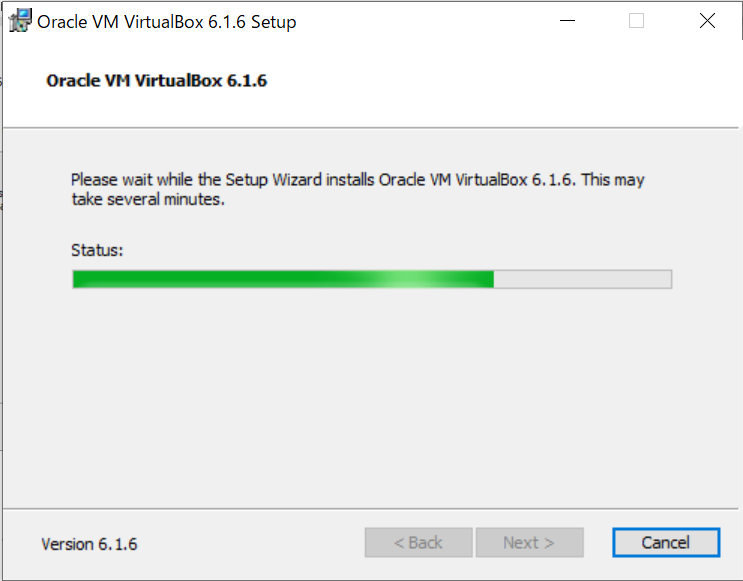
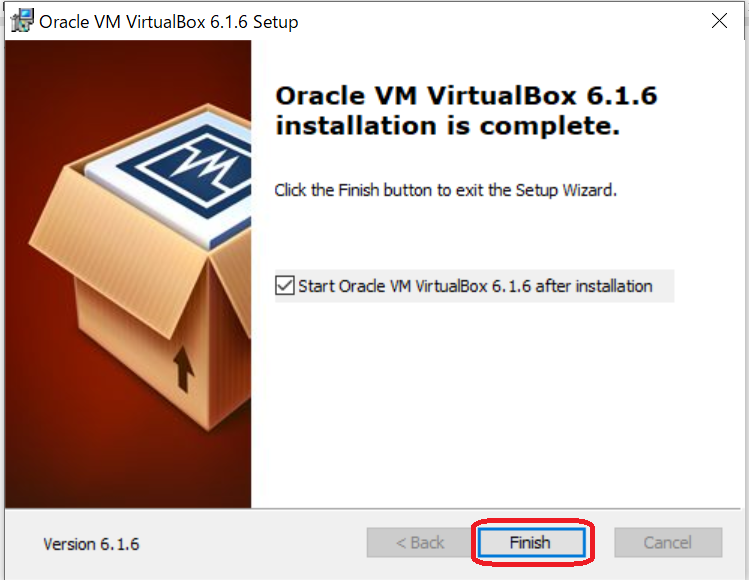
Finishで終了です。
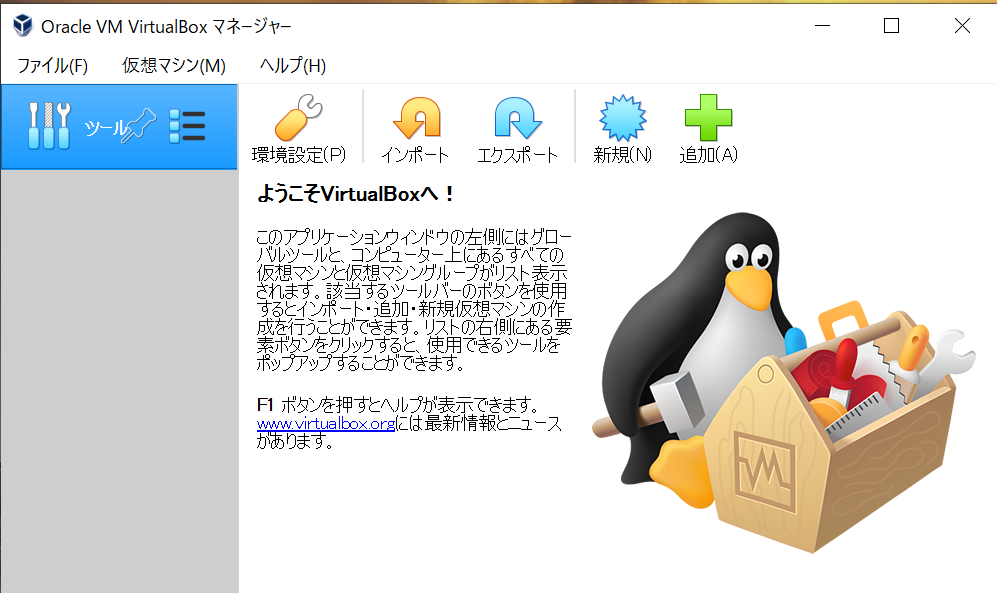
「ようこそVirtialBoxへ!」が表示されます。
「×」をクリックして終了します。
Vagrantのセットアップ
仮想環境を設定・管理するVagrant(ベイグラント)をセットアップしていきます。
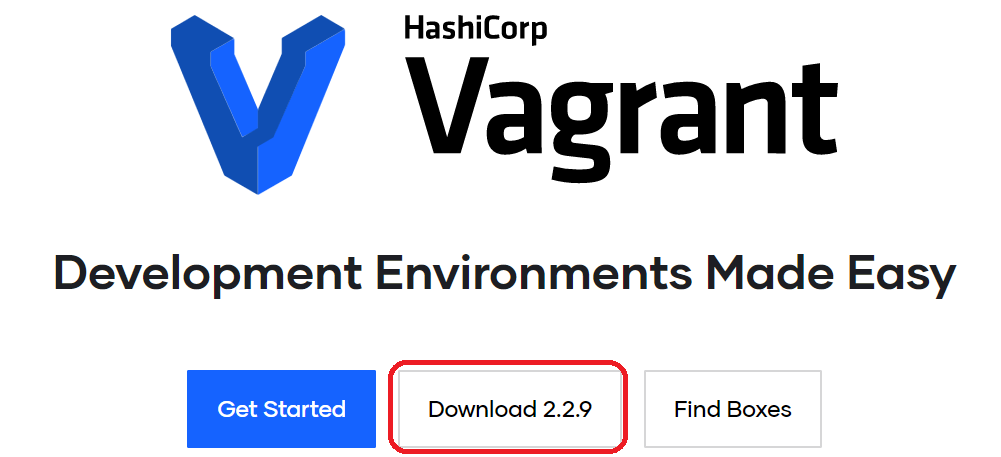
Vagrantをダウンロード
Vagrant公式サイトへ移動します。
ダウンロードをクリックして、Windows(32bitまたは64bit)をクリックします。

\ダウンロードしたインストーラー/
Vagrantをインストール
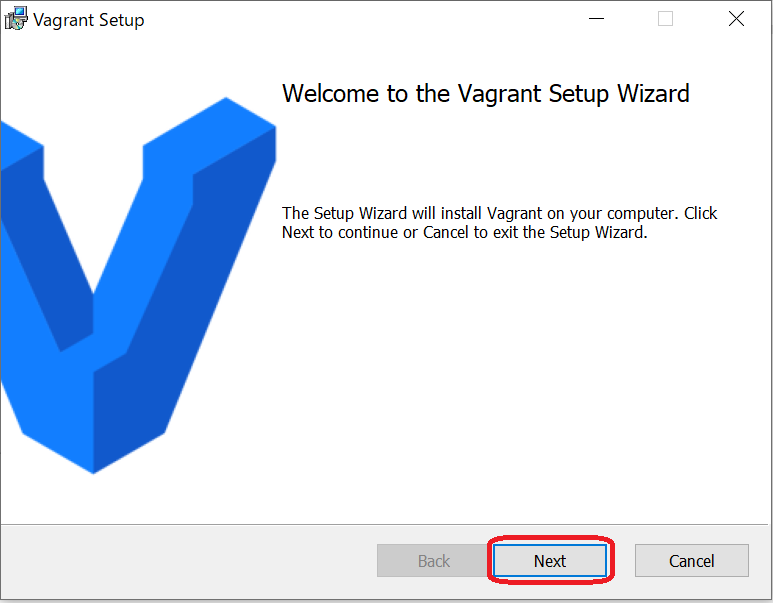
ダウンロードしたインストーラーをダブルクリックして起動します。
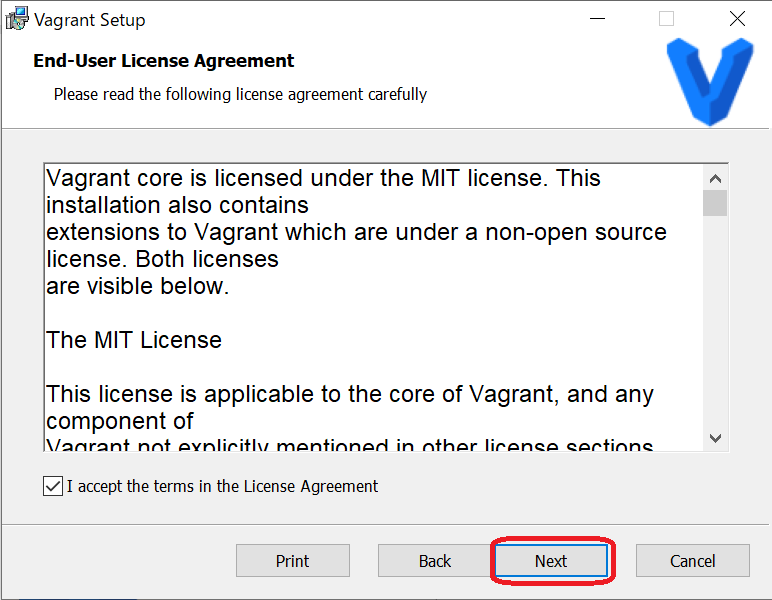
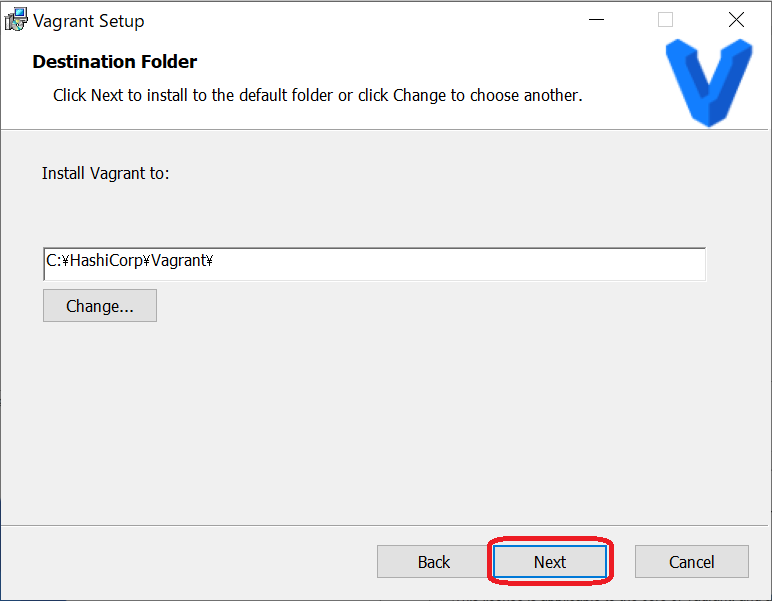
インストールを進めます。
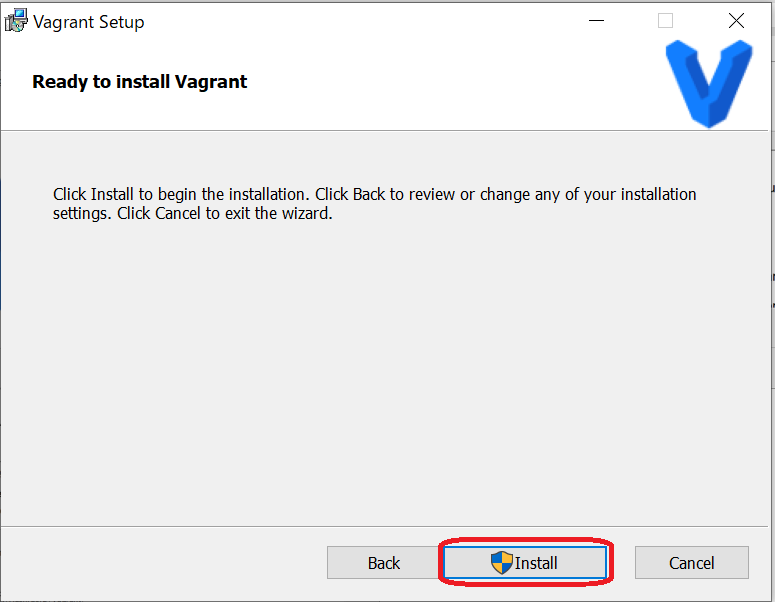
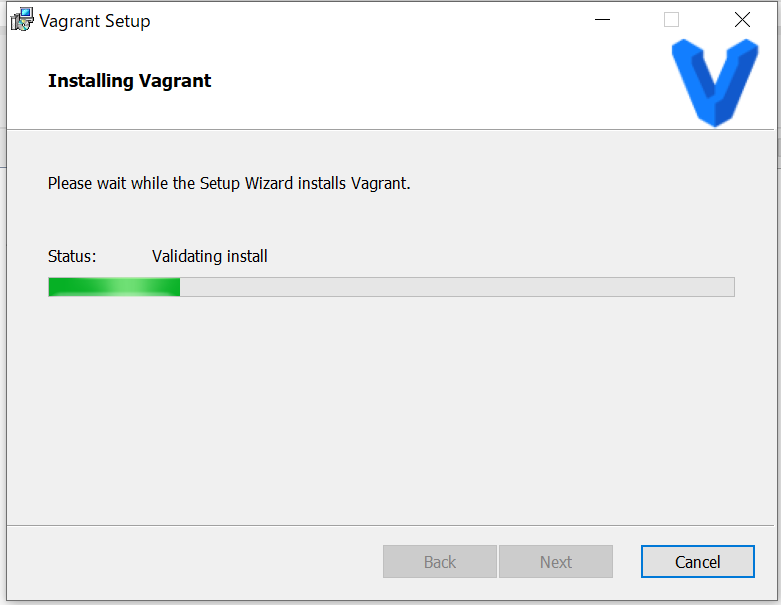

Finishをクリックして終了です。
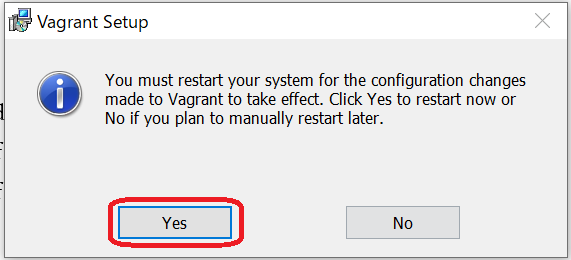
再起動する
再起動する画面がでたら「Yes」をクリックして再起動します。
hostsファイル編集
hostsファイルを編集し、VCCW導入前の準備をします。
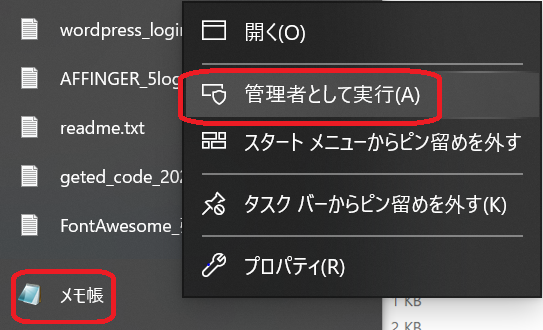
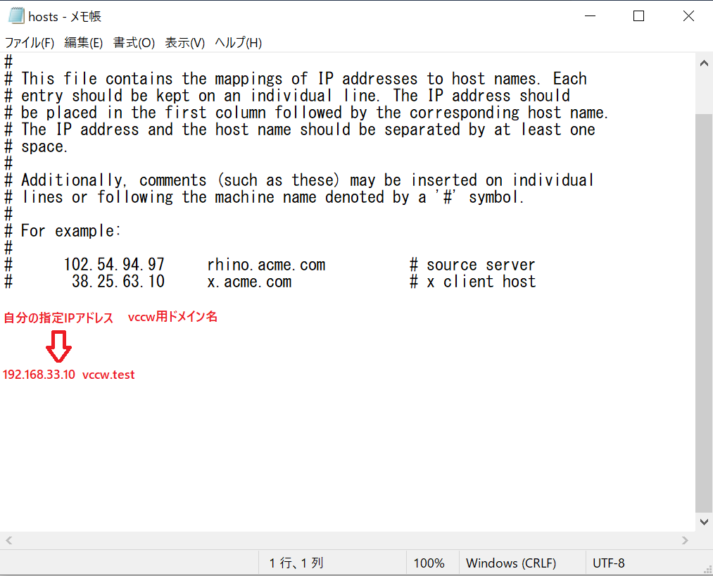
管理者権限で「hosts」ファイルをメモ帳で開き、編集します。
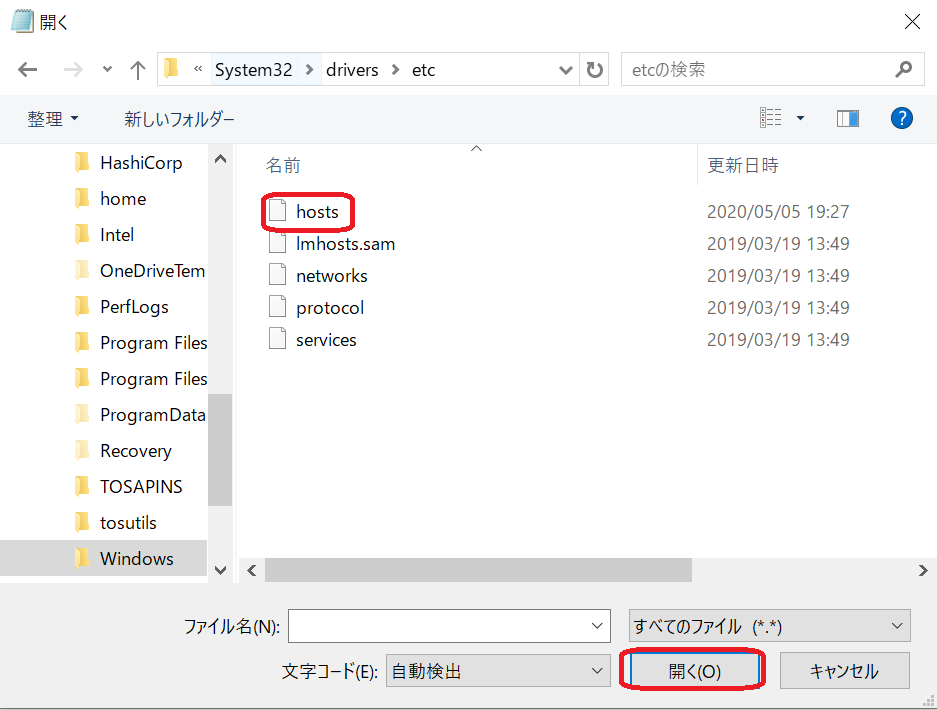
ローカル用のIPアドレス VCCW用のドメイン名を1行追加して上書き保存します。
ここでは、「docker-bizsel-u2004 docker-bizsel-u2004」とします。
VCCWのセットアップ
VCCWの環境ファイルをセットアップしていきます。
VCCW環境ファイルダウンロード
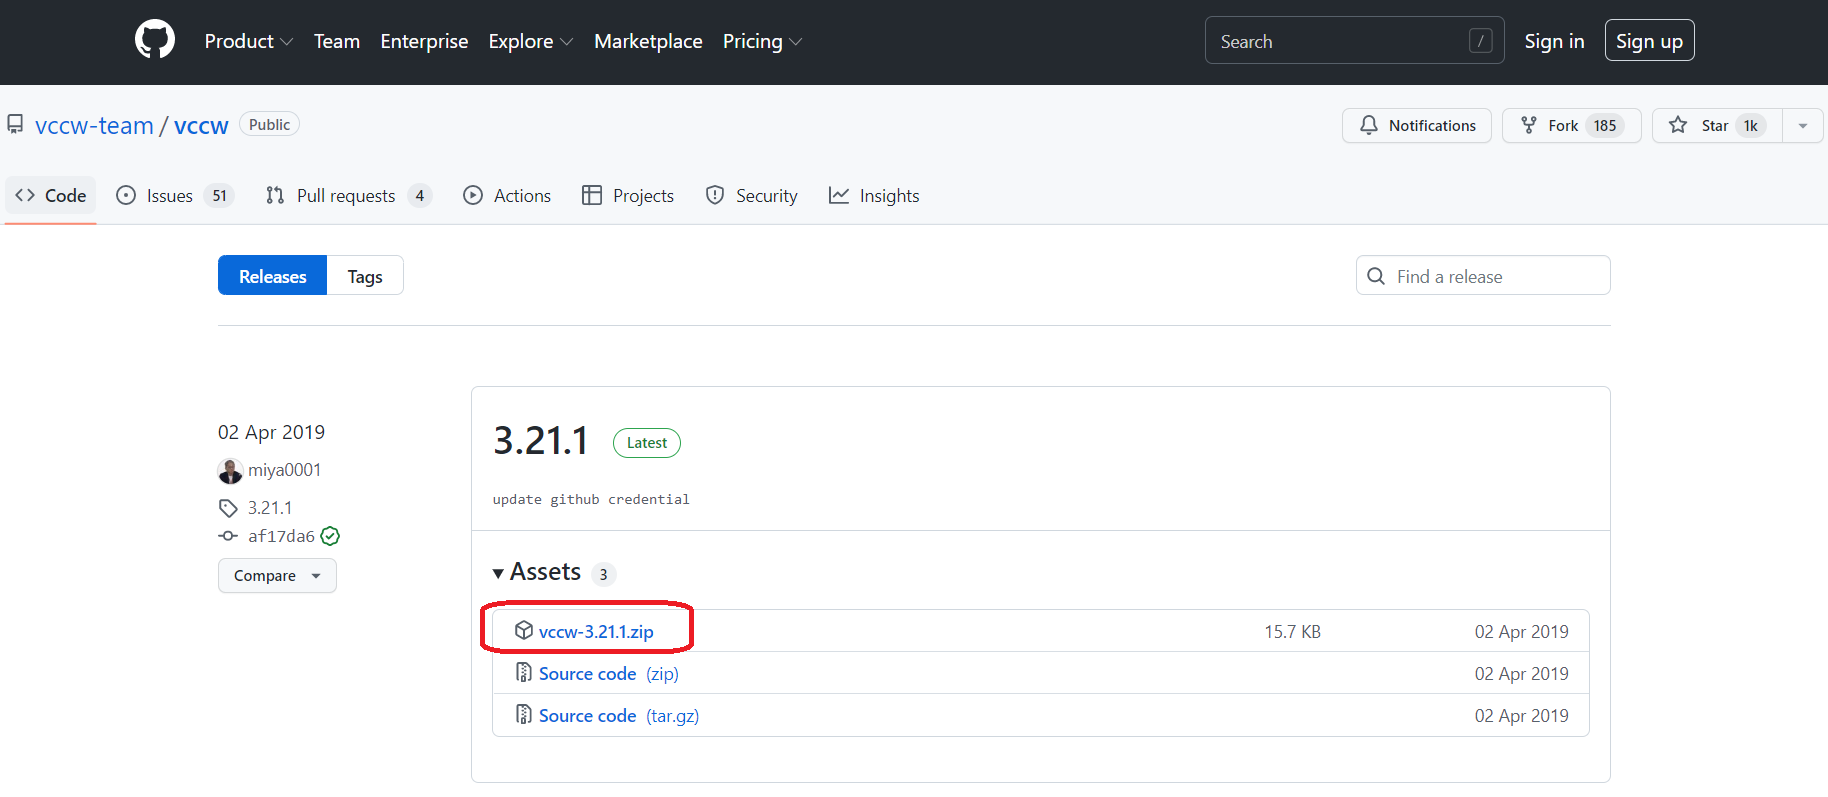
zipファイルを解凍
zipファイルを解凍します。
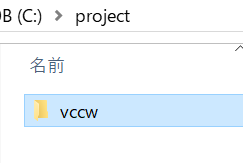
解凍したvccwfフォルダを好きな名称に変更します。(vccwのままでもOKです)
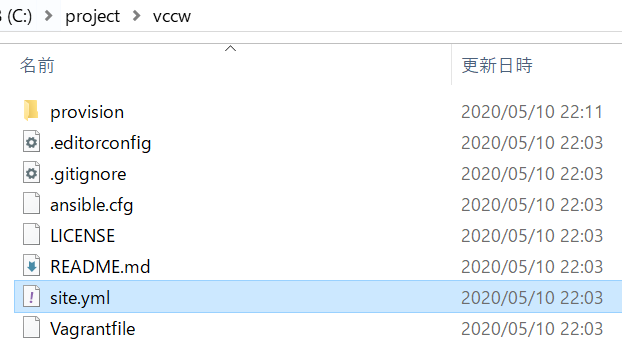
vccwの作業場所を決め移動します。 例:C:\project\vccw
syte.ymlの準備
「site.yml」ファイルを作ります。
「site.yml」ファイルで、IPアドレス等の環境を設定します。
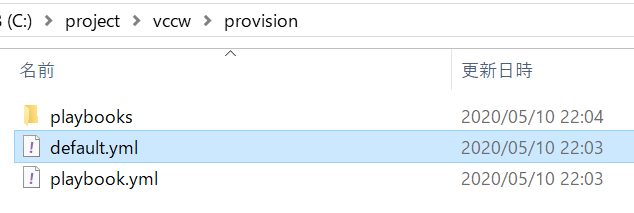
「provision」フォルダにある「default.yml」をvccw直下にコピーし、「site.yml」にファイル名を変更します。
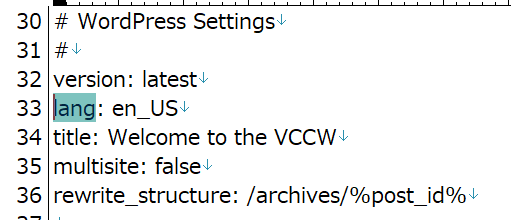
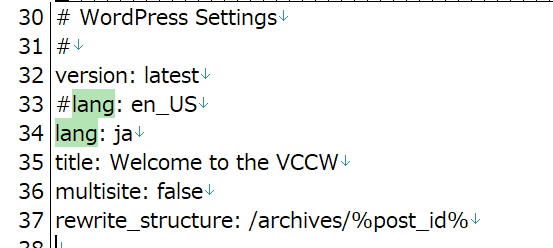
「site.yml」を編集し、langを「lang: en_US」から「lang: ja」に変更します。
Vagrantを立ち上げる
Vagrantを起動します。
コマンドプロンプトを開く
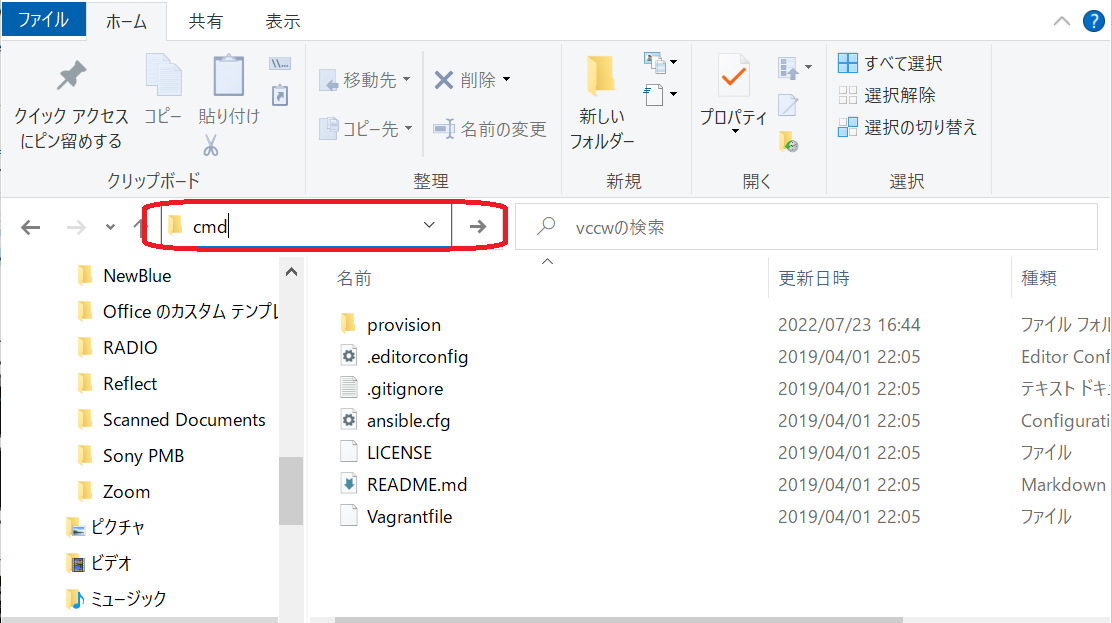
vccwフォルダに移動して、コマンドプロンプトを開きます。
vccwフォルダに移動した状態で、windowsエクスプローラーのロケーションバーに「cmd」と入力し、ENTERキーを押します。
すると、vccwフォルダでコマンドプロンプトが起動します。

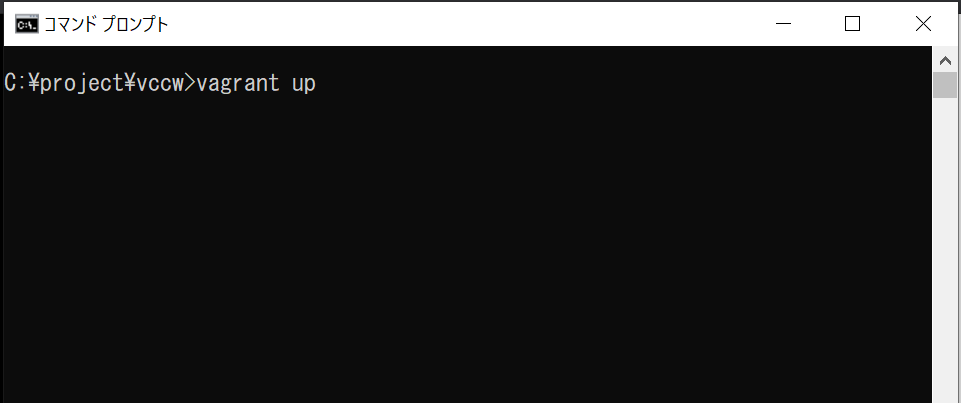
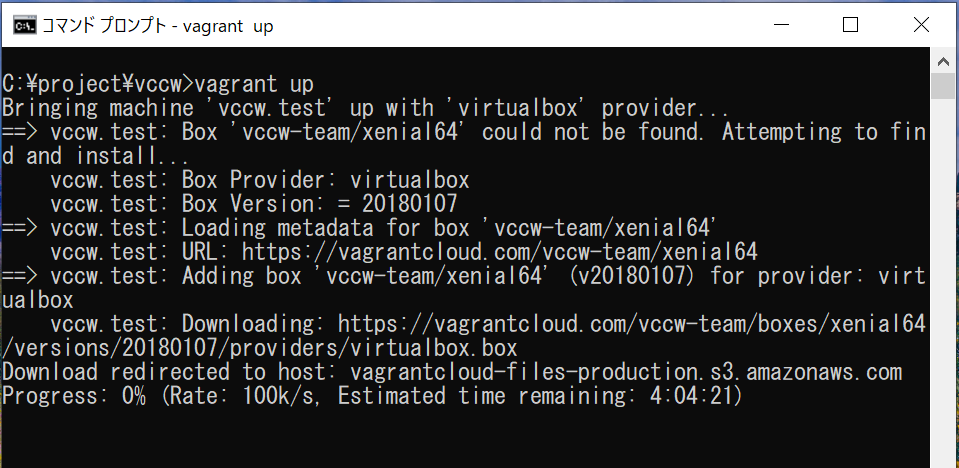
vagrantを起動する
コマンドプロンプトで「vagrant up」と入力し、ENTERキーを押して起動します。
ローカルサイトアクセス・WordPressログイン
ローカルサイトへアクセスできるか、
WordPress管理画面にへログインできるかテストします。
ローカルサイトアクセステスト
docker-bizsel-u2004または、docker-bizsel-u2004にブラウザからアクセスします。
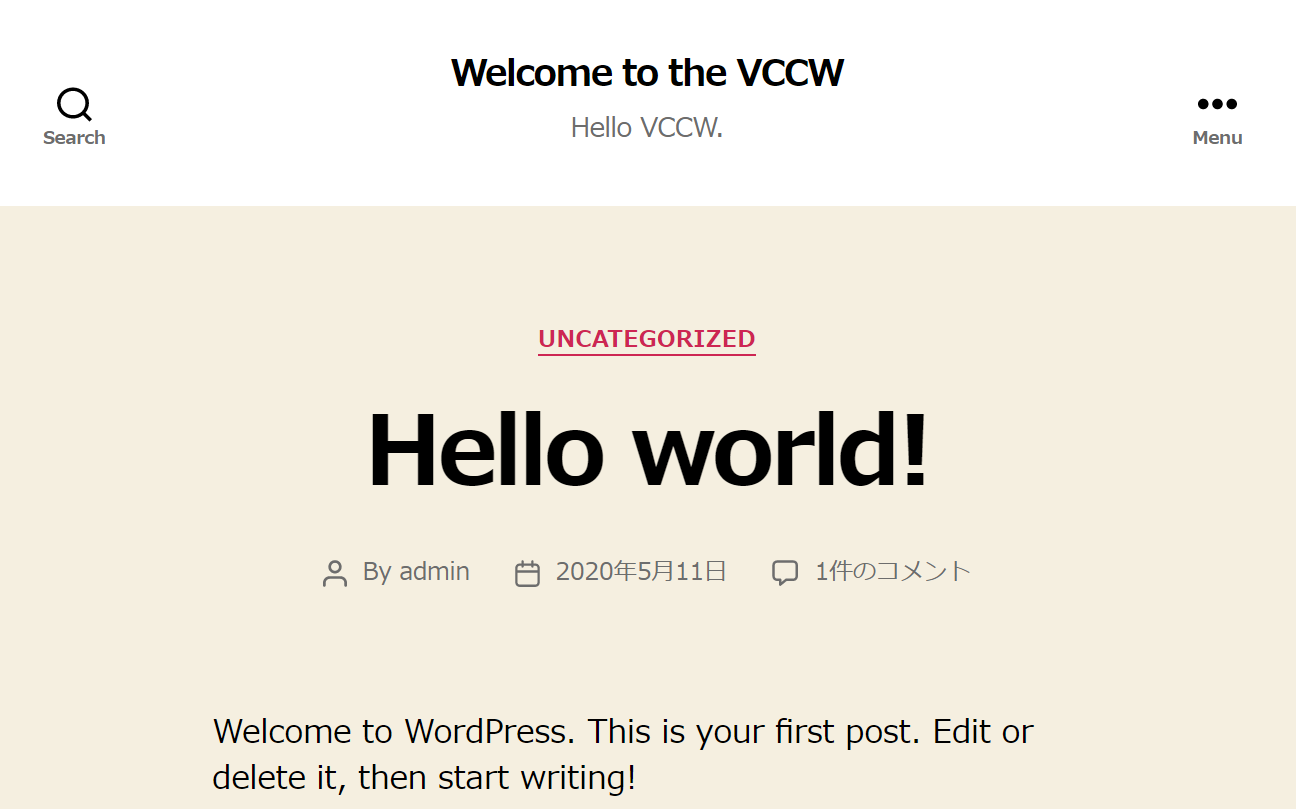
WordPressのテーマが表示されれば成功です。
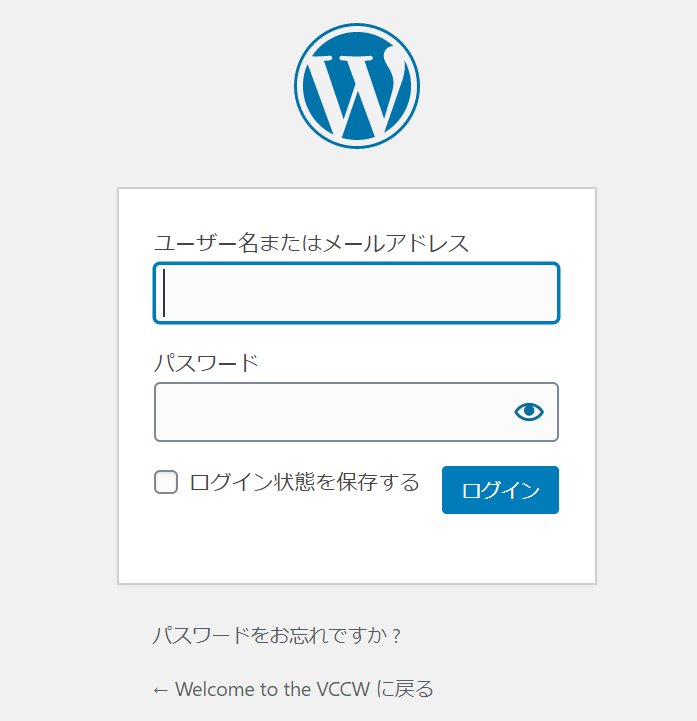
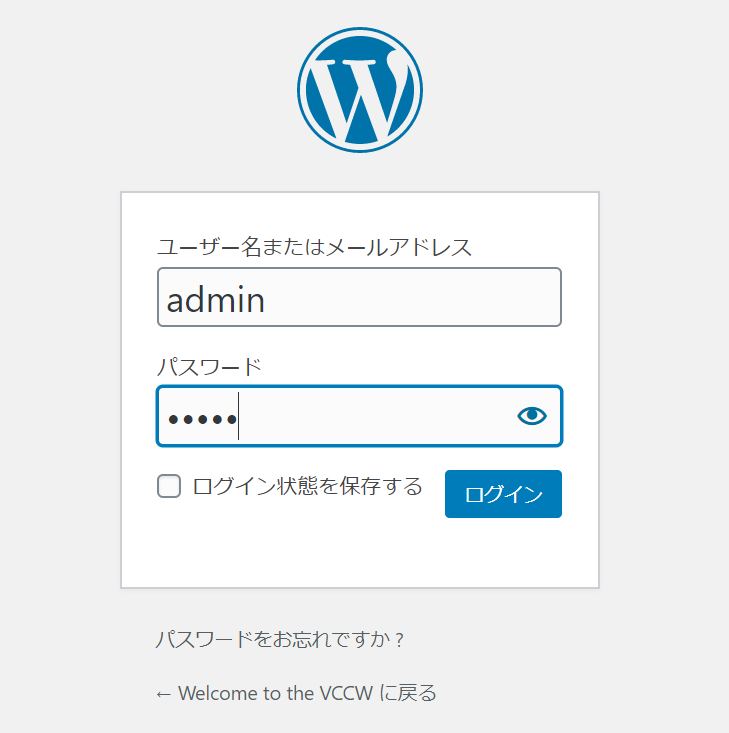
WordPressログインテスト
docker-bizsel-u2004/wp-login.php
または、
docker-bizsel-u2004/wp-login.phpにアクセスします。
「site.yml」ファイルに、ログイン、パスワードが設定されています。
(admin、adminが設定されているはずです。)
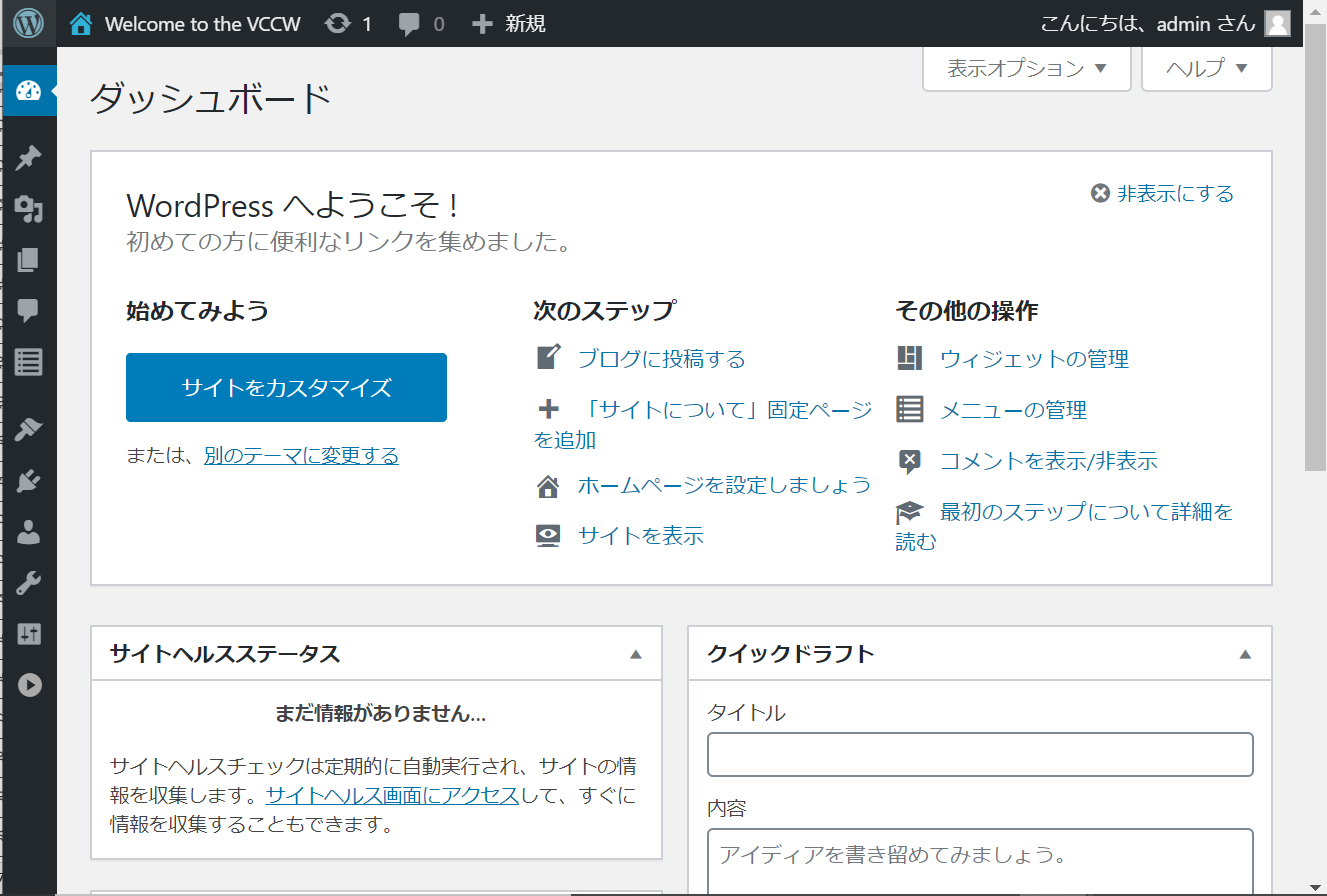
管理画面が表示されれば成功です!
本番環境とローカル環境を同期しよう!
,ここからは、作成したローカル環境と本番環境を同期させるための方法をまとめいます。
せっかくローカル環境を作成したので、本番環境との同期ができるようにしましょう!

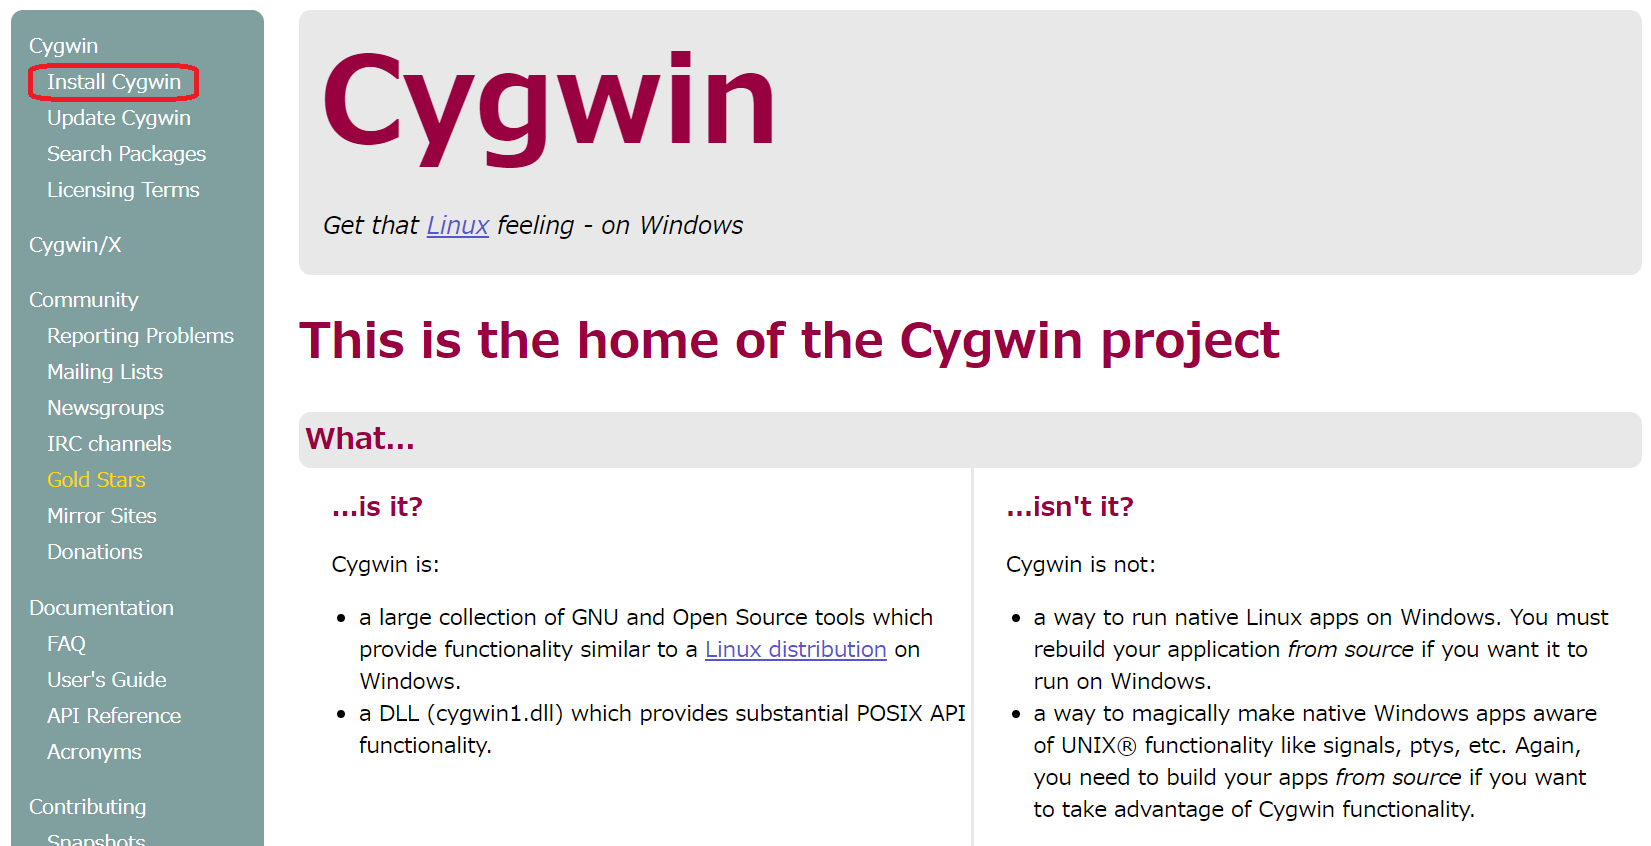
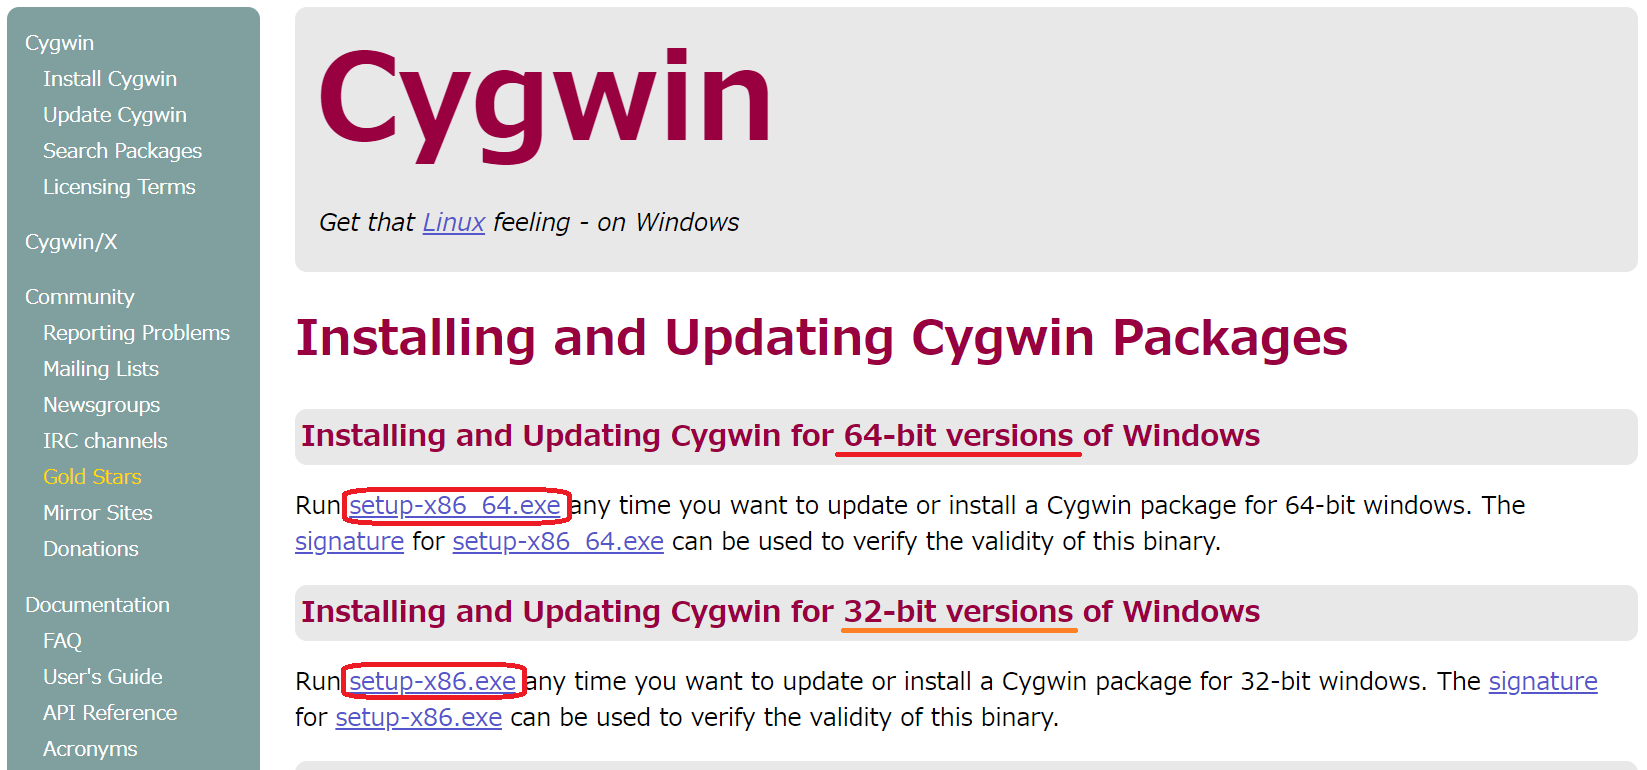
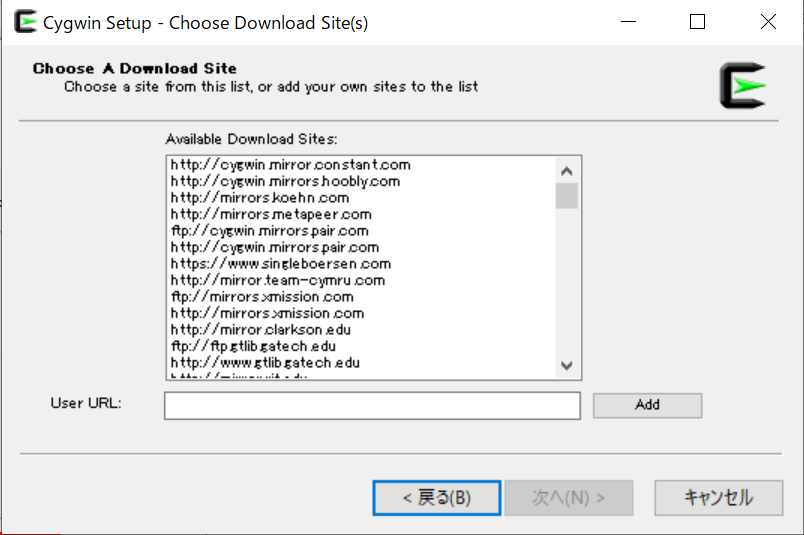
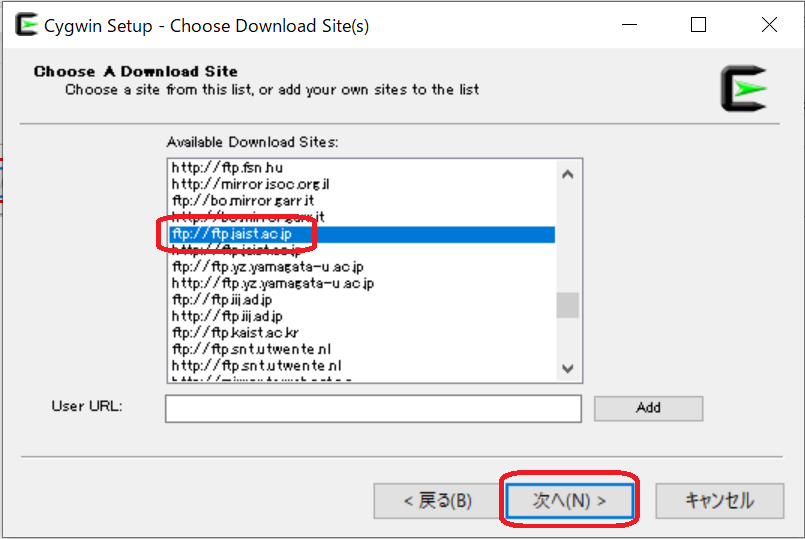
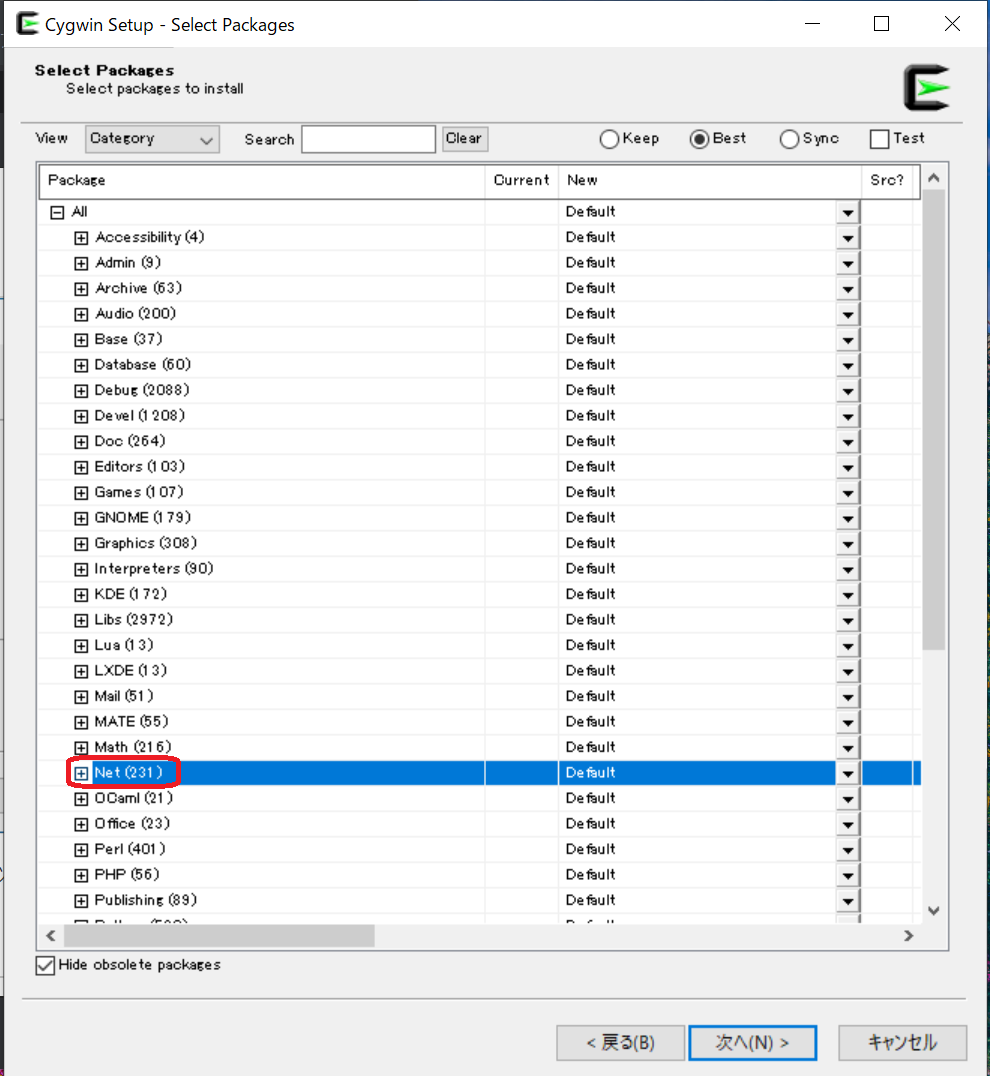
Cygwinセットアップ
Windows上で、Linix系のコマンドが使えるように
Cygwinをインストールします。
Cygwinをダウンロード
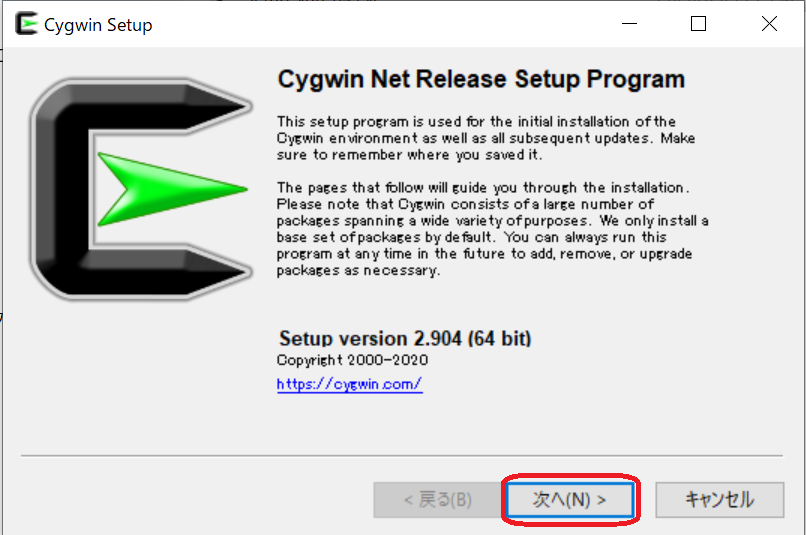
Cygwinをインストール
ダウンロードしたインストーラーをダブルクリックして起動します。
インストールを進めます。
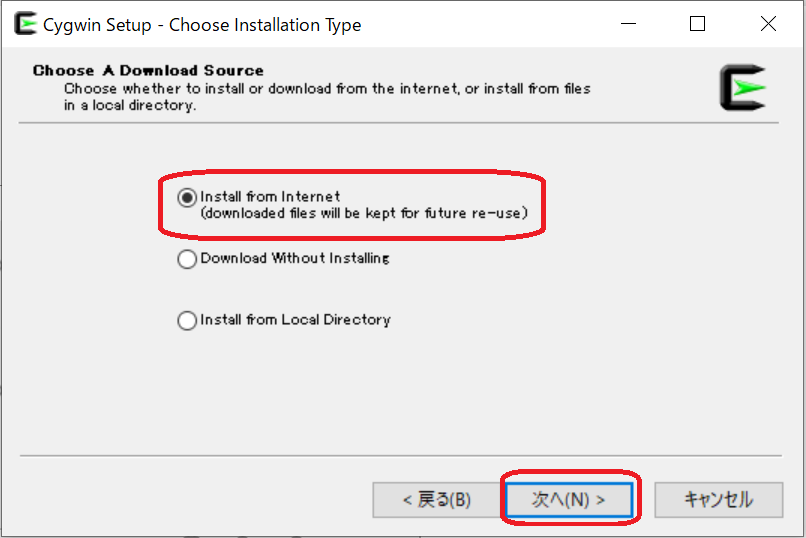
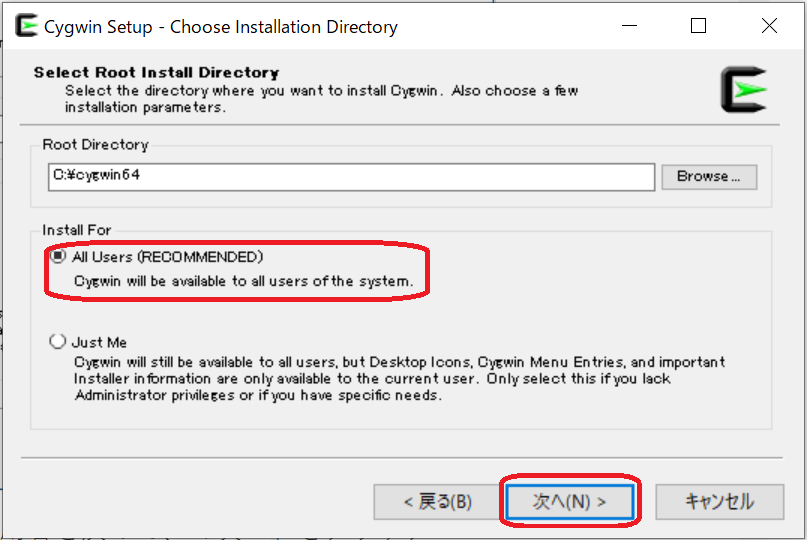
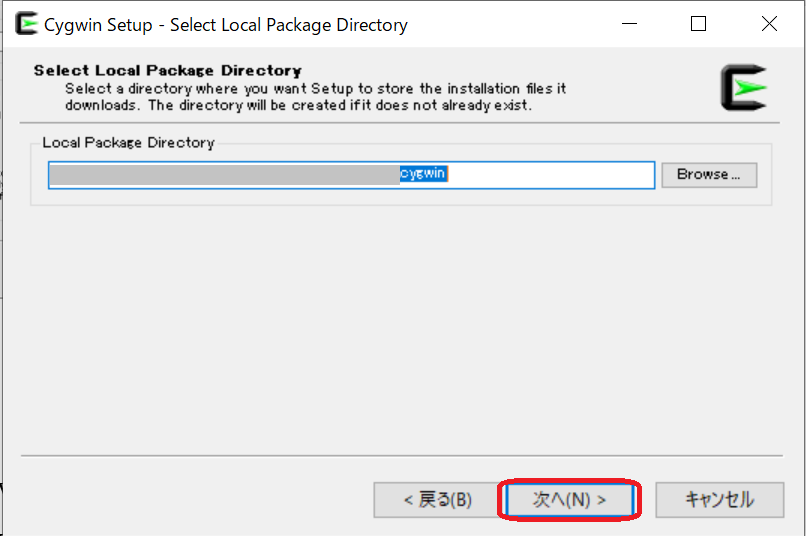
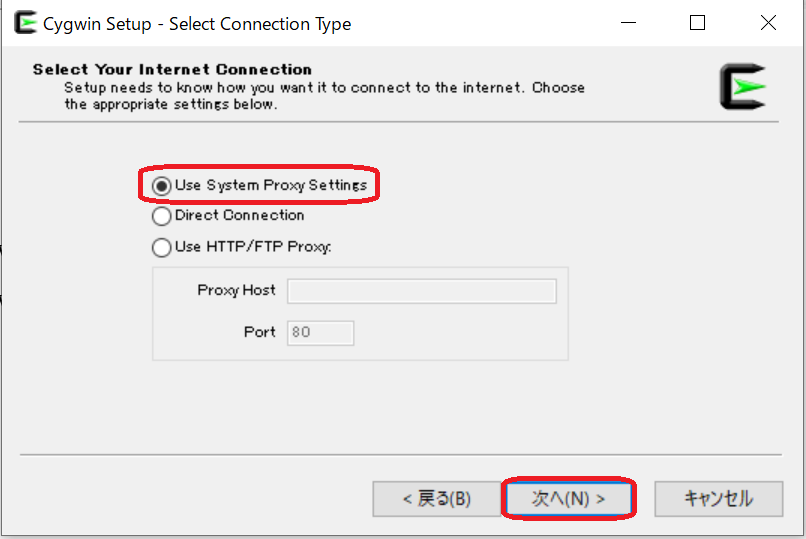
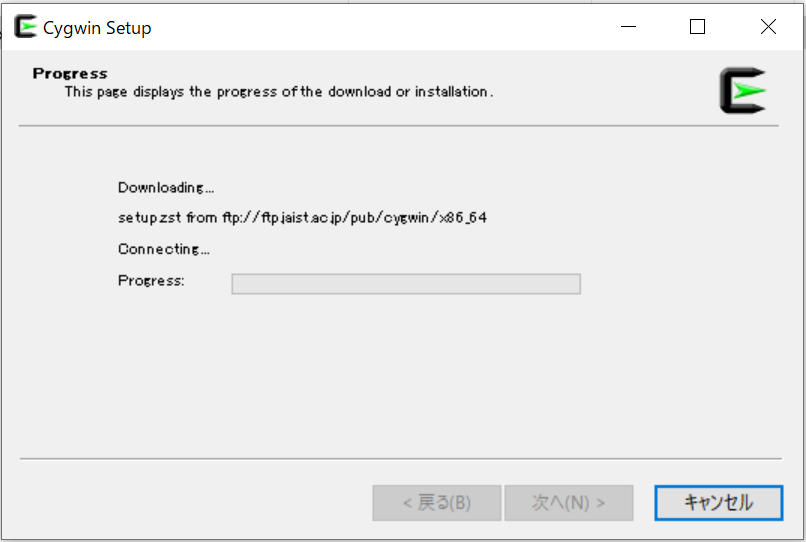
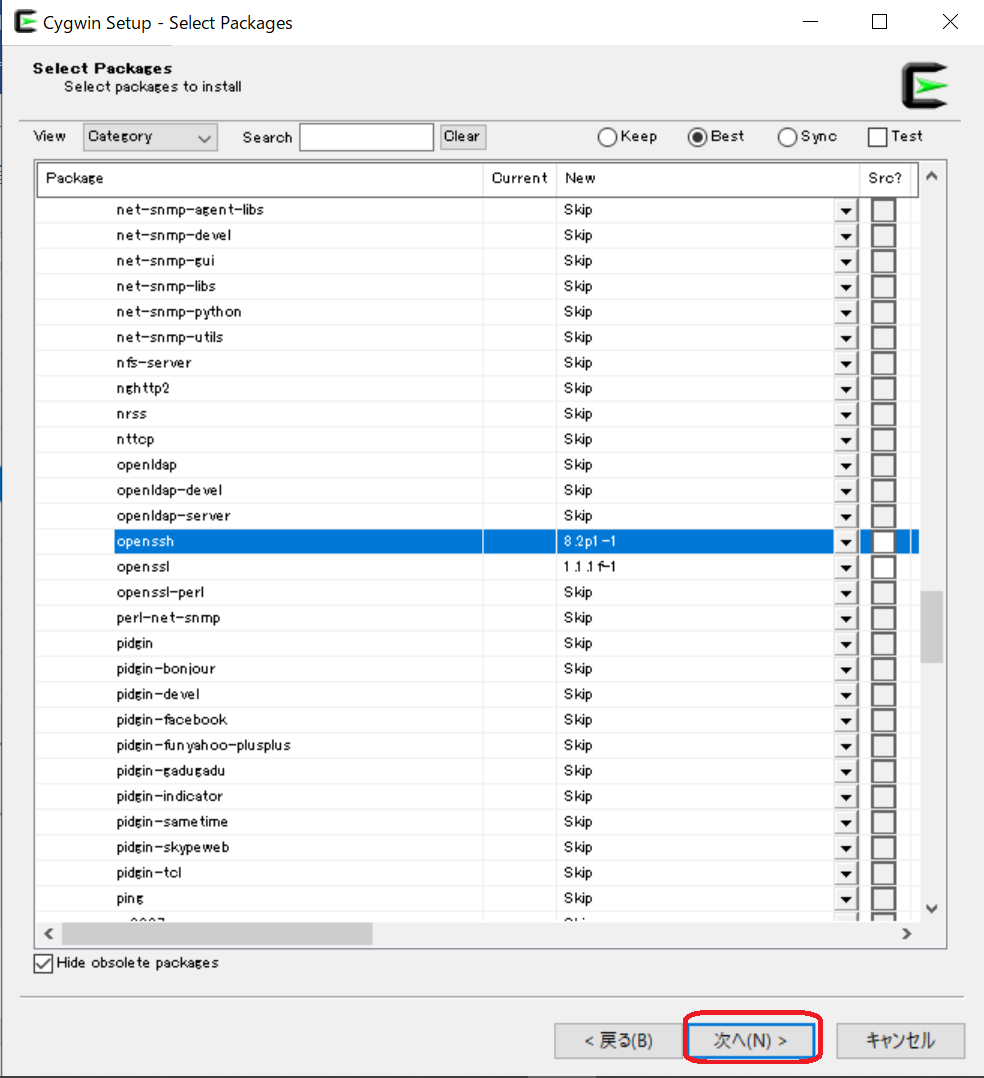
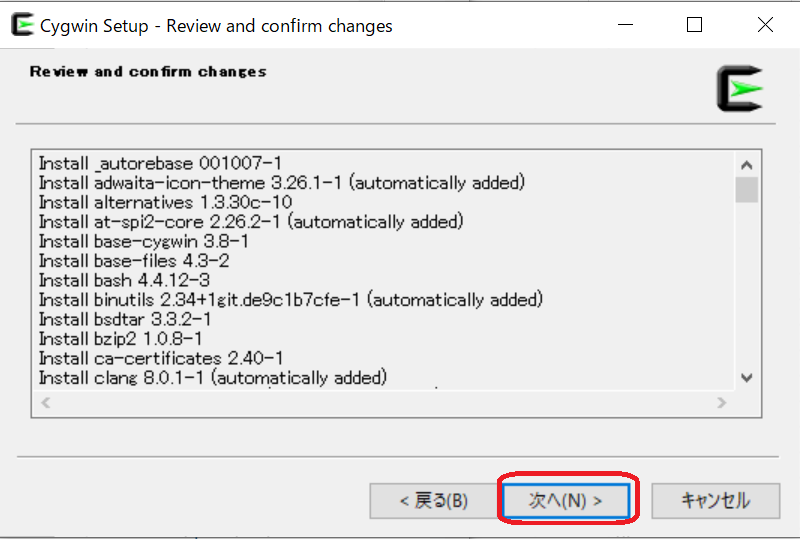
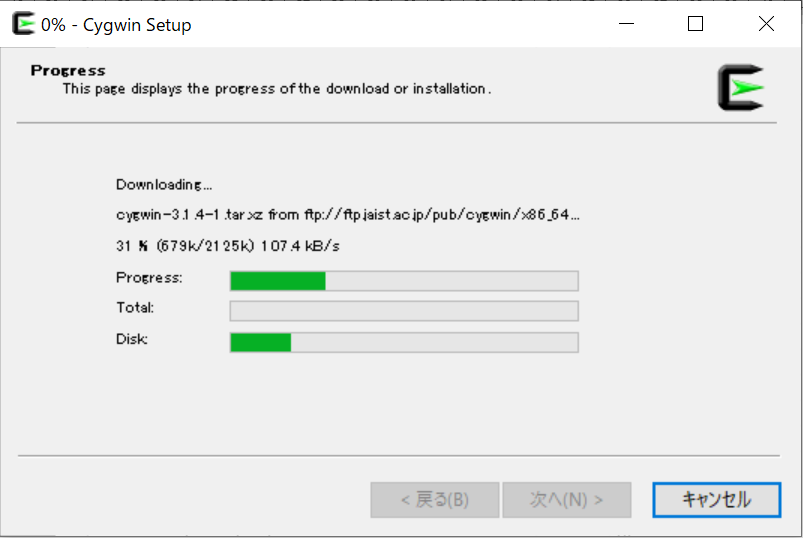
完了をクリックしてインストール終了です。
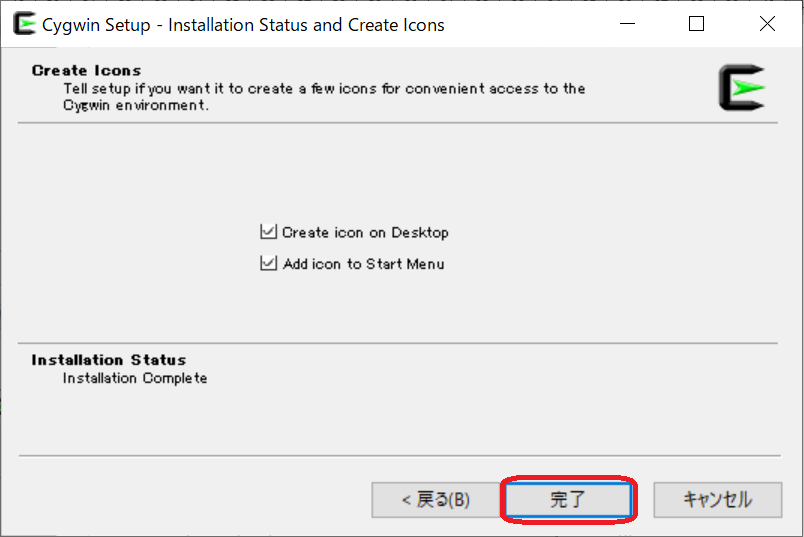
インストールが完了すると、
デスクトップにショートカットができるのでクリック。
Cygwinのウインドウが起動することを確認します。
これで、Linuxコマンドが扱える準備ができました。
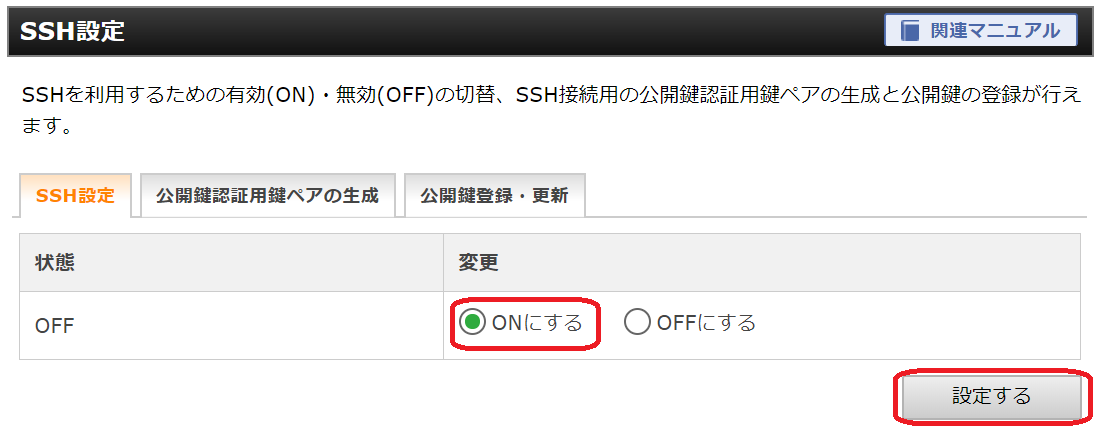
SSHの設定
本番環境のサーバーと通信するために、SSHの設定をします。
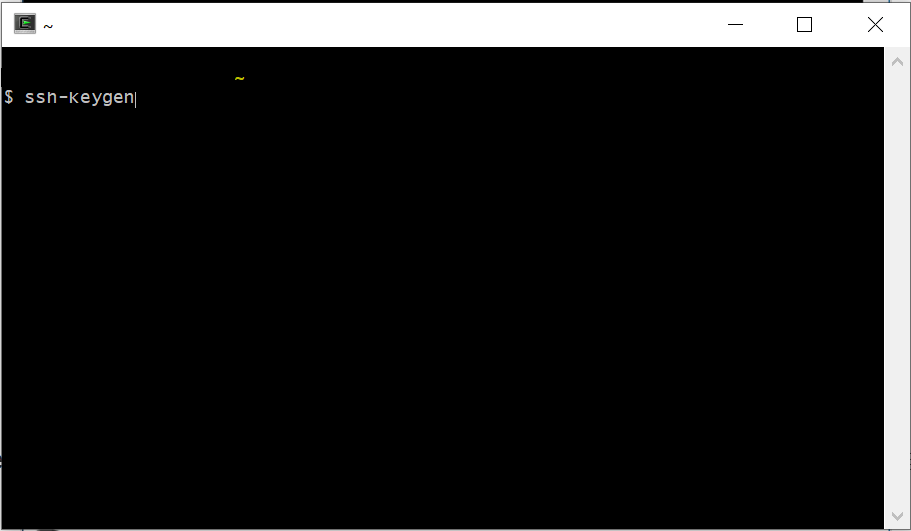
公開鍵と秘密鍵を生成する
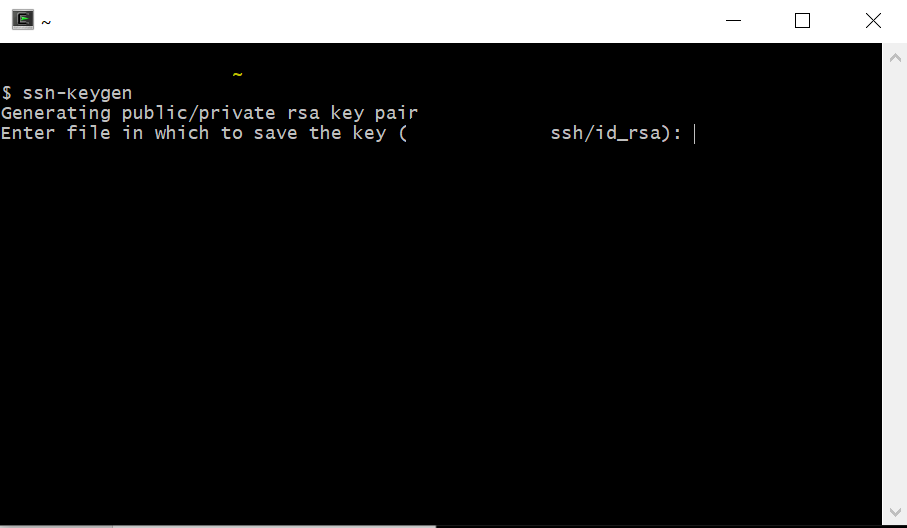
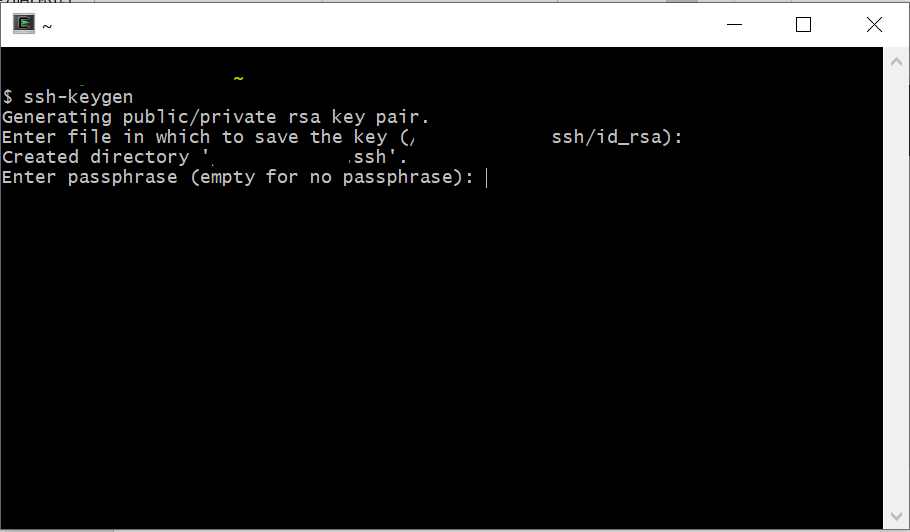
Cygwinのウインドウで、「ssh-keygen」と入力します。
「Enter file in which to save the key」と表示されるので、そのままEnterキーを押します。
Enter passphase(empty for no passphase):と表示されるので
独自のパスワードを入力します。2回求められるので2回同じパスワードを入力します。
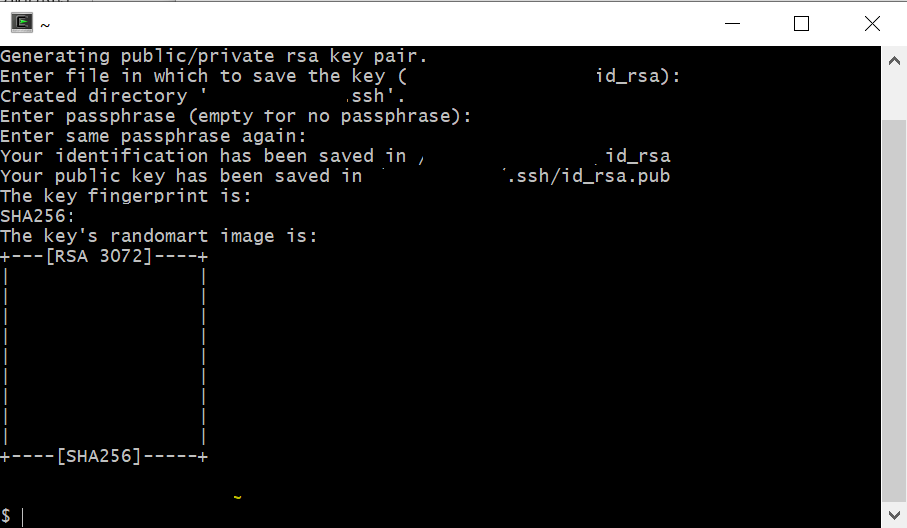
このパスワードは後ほど使用するため覚えておきます。
2回とも同じパスワードを入力すると
「id_rsa」(秘密鍵)「id_rsa.pub」(公開鍵)
というファイルが生成されたメッセージが出ます。
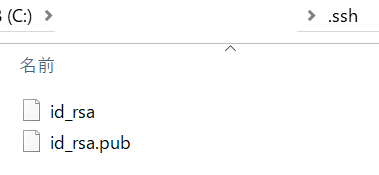
「C:/cygwin64/home/ユーザー名/.ssh」フォルダ内を見ると
「id_rsa」、「id_rsa.pub」と二つのファイルが生成されています。
Cygwinウインドウで、以下を入力して確認することもできます。
Cygwin
$ cd C:\cygwin64\home\user\.ssh
$ ls -a
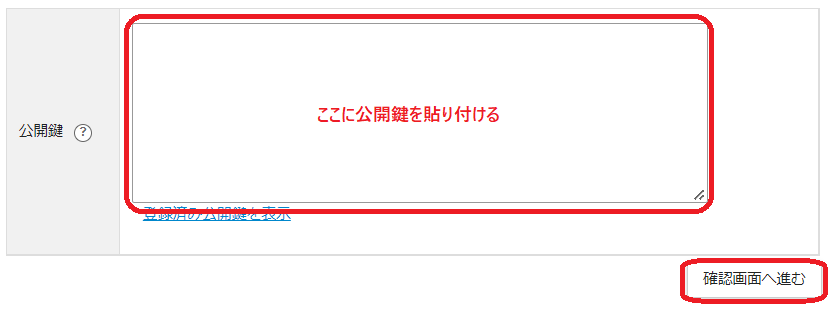
公開鍵の「id_rsa.pub」の内容をサーバーに登録します。
サーバーに公開鍵を登録する前に、
秘密鍵(id_rsa)のパーミッションを下記のようにCygwinで変更しておきます。
Cygwin
$ chmod 600 /home/user/.ssh/id_rsa
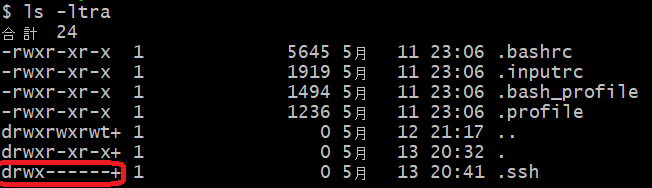
パーミッションが変更されたか確認します。
Cygwin
$ ls-ltr /home/user/.ssh/id_rsa
Id_rsaのパーミッションが、「-rw-------」になっていれば成功です。

念のため、「.ssh」フォルダのパーミッションも確認しておきましょう。
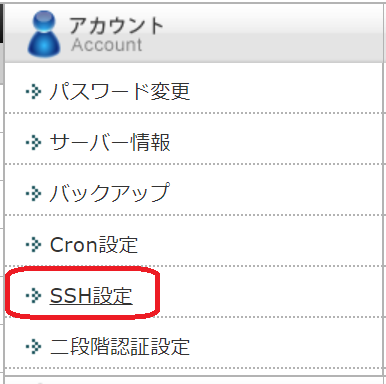
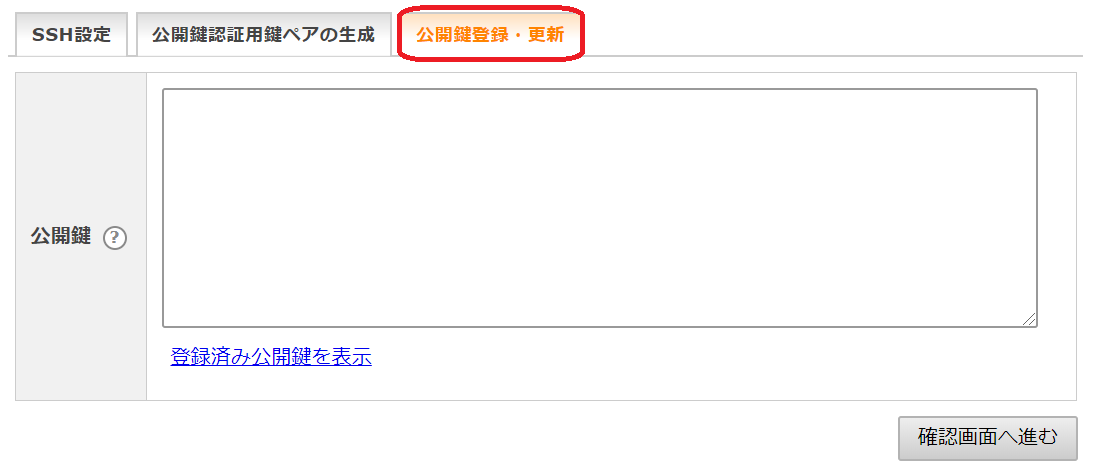
公開鍵を本番サーバーへ登録する
公開鍵を、本番環境のサーバーに登録して、
本番環境のサーバーとデータのやり取りが相互にできるようにします。
エックスサーバー社のレンタルサーバーへの登録方法をまとめています。
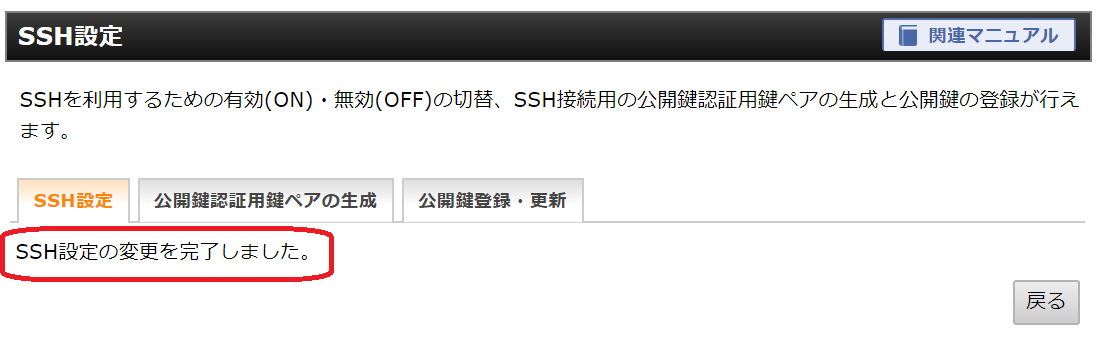
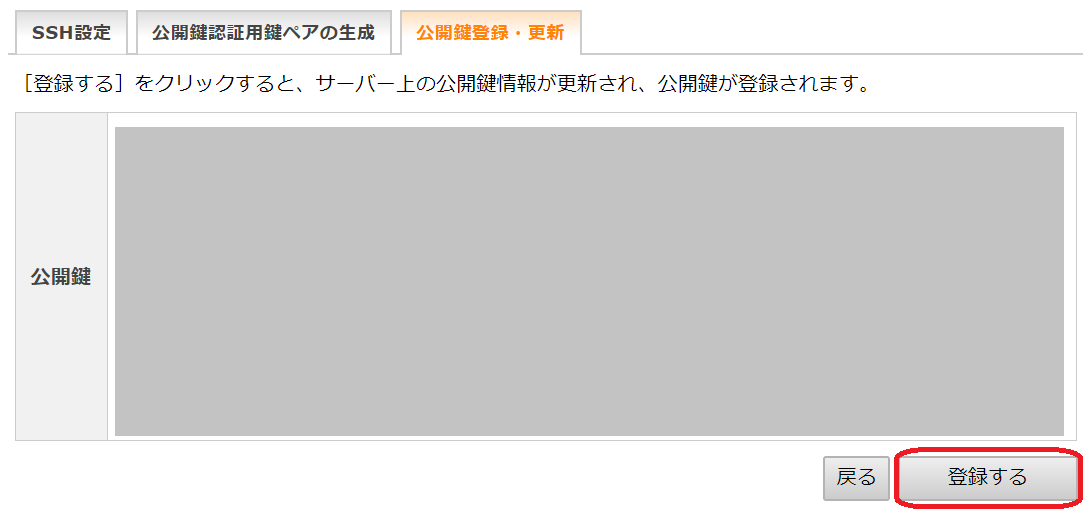
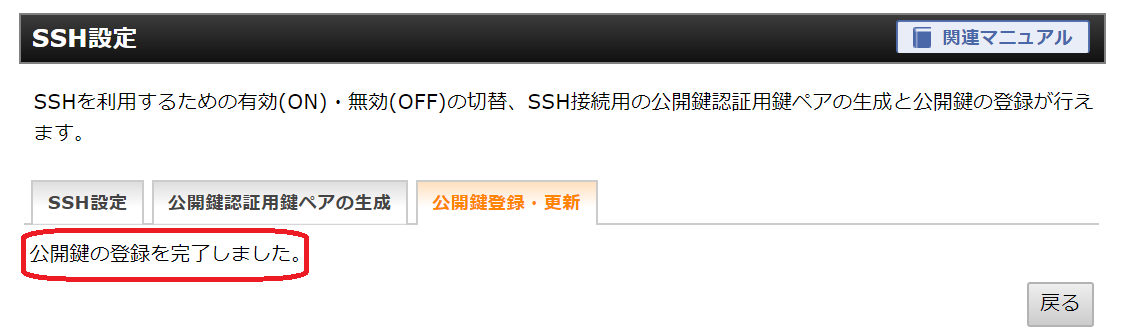
「公開鍵の登録を完了しました」のメッセージが出れば完了です。
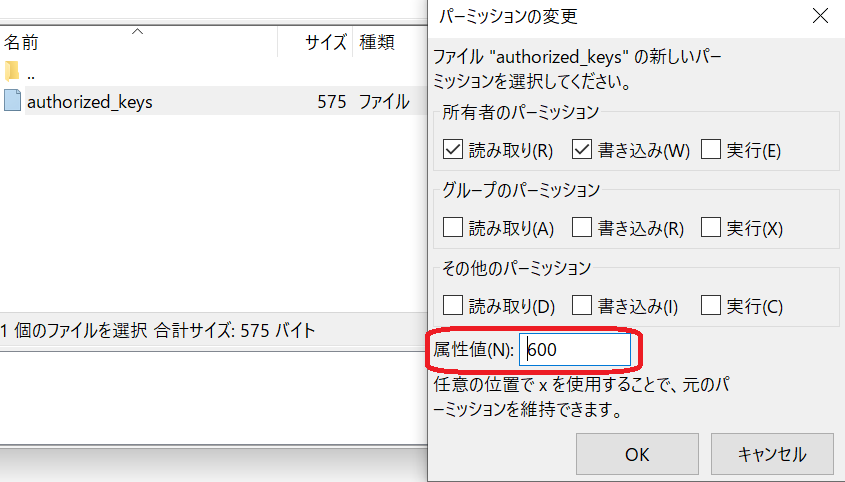
公開鍵のパーミッションを変更する
公開鍵を登録したあと、パーミッションを秘密鍵と同じ「600」にします。
FTPソフトなどで本番環境のサーバーに入ります。
ホームディレクトリにある「.ssh」フォルダの「authorized_keys」上で右クリックをして、「600」と変更します。
もとから600であれば変更は不要です。
ゆめただは、FileZilliaを使っています。
これでSSHの設定は終了です。
さあ次は、SSHの接続を確認しましょう。
SSHの接続を確認する
公開鍵と秘密鍵の設定が終わりました。
本番環境のサーバーとSSHで接続できるか確認しましょう。
Cygwinを起動します。
.sshのフォルダで、接続するためのコマンドを入力します。
「ssh アカウント名@サーバーID.xsrv.jp -p ポート番号」と入力します。
Cygwin
$ ssh アカウント名@サーバーID.xsrv.jp -p ポート番号
\実行例です/
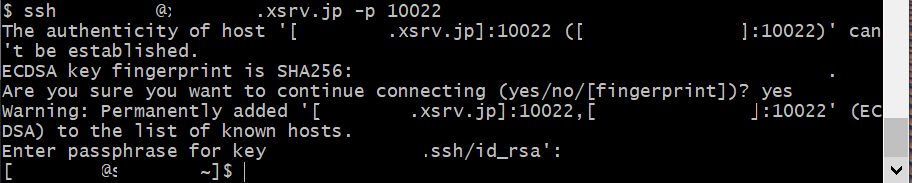
Yes/no/[fingerprint]?と表示されるので、「yes」を入力します。
登録したパスフレーズを求められるので入力します。
\エックスサーバーのSSH情報はこちらから確認できます/

 https://www.xserver.ne.jp/manual/man_server_ssh.php
 本番サーバーへの接続が確認できました。
次は、自動でサーバーに接続する準備をしていきましょう!
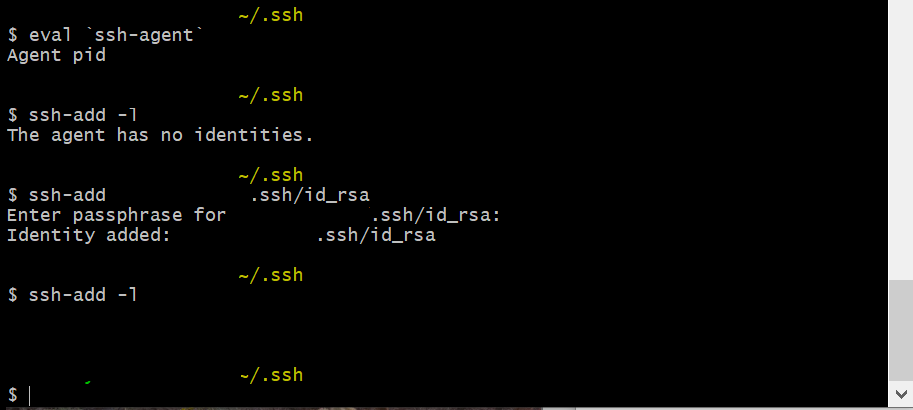
SSHパスフェーズを登録する
本番サーバーにSSH接続するときに、自動で接続できるように
パスフェーズを登録しておきます。
cygwinで、.sshフォルダに移動し次のコマンドを入力します。
Cygwin
$ eval `ssh-agent`
$ ssh-add id_rsa
登録されている秘密鍵は、このコマンドで確認できます。
Cygwin
$ ssh-add -l
\実行例です!/
wordmoveの設定
本番の環境と同期をとるために、wordmoveというプログラムを使います。
このwordmoveの設定を行います。
Movefile.ymlを確認する
VCCWの設定を実施したときに、wordmoveの設定ファイルがセットされています。
VCCWのフォルダに、「Movefile.yml」があるか確認をします。
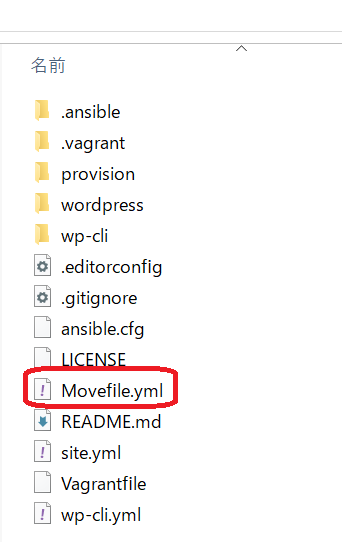
Movefile.ymlを開きます。
Notepad等のテキストエディタであれば何でもOKです。
global:
  sql_adapter: default

local:
  vhost: "http://docker-bizsel-u2004"
  wordpress_path: "/var/www/html" # use an absolute path here

  database:
    name: "wordpress"
    user: "wordpress"
    password: "wordpress"
    host: "localhost"
    charset: "utf8"

  # paths: # you can customize wordpress internal paths
  #   wp_config: "wp-config-custom.php"
  #   wp_content: "wp-content"
  #   uploads: "wp-content/uploads"
  #   plugins: "wp-content/plugins"
  #   mu_plugins: "wp-content/mu-plugins"
  #   themes: "wp-content/themes"
  #   languages: "wp-content/languages"

production:
  vhost: "http://example.com"
  wordpress_path: "/var/www/your_site" # use an absolute path here

  database:
    name: "database_name"
    user: "user"
    password: "password"
    host: "host"
    port: "3308" # Use just in case you have exotic server config
    mysqldump_options: "--max_allowed_packet=50MB" # Only available if using SSH

  exclude:
    - ".git/"
    - ".gitignore"
    - ".sass-cache/"
    - "bin/"
    - "tmp/*"
    - "Gemfile*"
    - "movefile.yml"
    - "wp-config.php"
    - "wp-content/*.sql"

  ssh:
    host: "host"
    user: "user"
    port: 22
    rsync_options: --verbose

Movefile.ymlを編集【Production:本番環境設定】
SSH接続で同期するために次の部分を変更します。
production:
  vhost: "本番サイトのURL"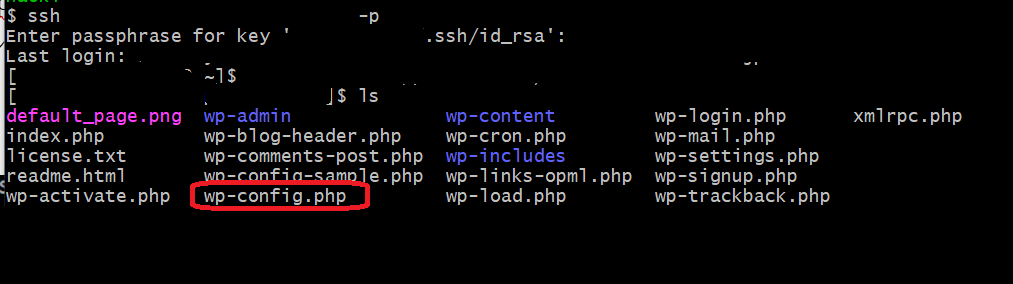
wordpress_path: "本番環境のWordPressの絶対パス" # use an absolute path here「public_html」パス確認方法
・Cygwinを立ち上げ、sshでサーバーに接続する
・「cd サイトURL/public_html」をキーイン
・「ls」をキーイン
・「wp-settings.php」ファイルがあることを確認
・「pwd」をキーイン
・絶対パスが表示される。これを設定する。(末尾スラッシュなしで)
Movefile.ymlを編集【database:本番環境設定】
本番サーバー上のWordPress環境の、wp-config.phpファイルに書かれている内容を設定します。
  database:
    name: "本番データベース名"
    user: "本番データベースユーザー名"
    password: "本番データベースパスワード"
    host: "MySQLホスト名.xserver.jp"
charset: "utf8"Movefile.ymlを編集【ssh:ssh設定】
ssh:以下内容をを次の通りに変更します。(エックスサーバー例)
設定内容は、「SSHの接続を確認する」で設定した内容と同じになります。
host:「xserver_account.xsrv.jp」 #サーバーID.xsrv.jp
user:「xserver_account」 #サーバーID
port:「10022」
rsync_options:はそのまま残す。Movefile.ymlを編集【exclude:同期除外設定】
exclide:の項目は、本番環境とローカル環境で、同期しないファイルを設定することができます。
ここでは、重要な「.htaccess」ファイルが同期しないように設定します。
  exclude:
    - ".git/"
    - ".gitignore"
    - ".sass-cache/"
    - "bin/"
    - "tmp/*"
    - "Gemfile*"
    - "movefile.yml"
    - "wp-config.php"
    - "wp-content/*.sql"
    - ".htaccess"
編集後のMovefile.yml
編集後のMove.ymlファイルです。
global:
  sql_adapter: default

local:
  vhost: "http://docker-bizsel-u2004"
  wordpress_path: "/var/www/html" # use an absolute path here

  database:
    name: "wordpress"
    user: "wordpress"
    password: "wordpress"
    host: "localhost"
    charset: "utf8"

  # paths: # you can customize wordpress internal paths
  #   wp_config: "wp-config-custom.php"
  #   wp_content: "wp-content"
  #   uploads: "wp-content/uploads"
  #   plugins: "wp-content/plugins"
  #   mu_plugins: "wp-content/mu-plugins"
  #   themes: "wp-content/themes"
  #   languages: "wp-content/languages"

production:
  vhost: "本番サイトURL"
  wordpress_path: "本番環境のWordPressの絶対パス" # use an absolute path here

  database:
    name: "本番データベース名"
    user: "本番データベースユーザー名"
    password: "本番データベースパスワード"
    host: " MySQLホスト名.xserver.jp "
charset: "utf8"

  exclude:
    - ".git/"
    - ".gitignore"
    - ".sass-cache/"
    - "bin/"
    - "tmp/*"
    - "Gemfile*"
    - "movefile.yml"
    - "wp-config.php"
    - "wp-content/*.sql"
    - ".htaccess"

  ssh:
    host: " xserver_account.xsrv.jp "
    user: " xserver_account "
    port: 10022
    rsync_options: --verbose
これで、準備ができました!
さっそく、本番環境とローカル環境間でデータをやり取りしてみましょう!
wordmoveで本番環境をローカル環境へ
Wordmoveを実行する準備が整いました。
では、実際にwordmoveコマンドを使って、本番サーバーとローカルを同期させてみましょう。

cygwinのウインドウでvccwのフォルダまで移動しコマンドを実行します。
cygwinは、windowsのドライブへ「/cygdrive/を指定する」ことででアクセスできます。
例えば、C:\project\vccwに移動したい場合は、cygwinウインドウでは、以下のパスになります。
「/cygdrive/c/project/vccw」
cd /cygdrive/c/project/vccw で移動し、以下のコマンドを実行します。
Cygwin
$ cd /cygdrive/c/project/vccw
$ vagrant ssh
$ cd /vagrant
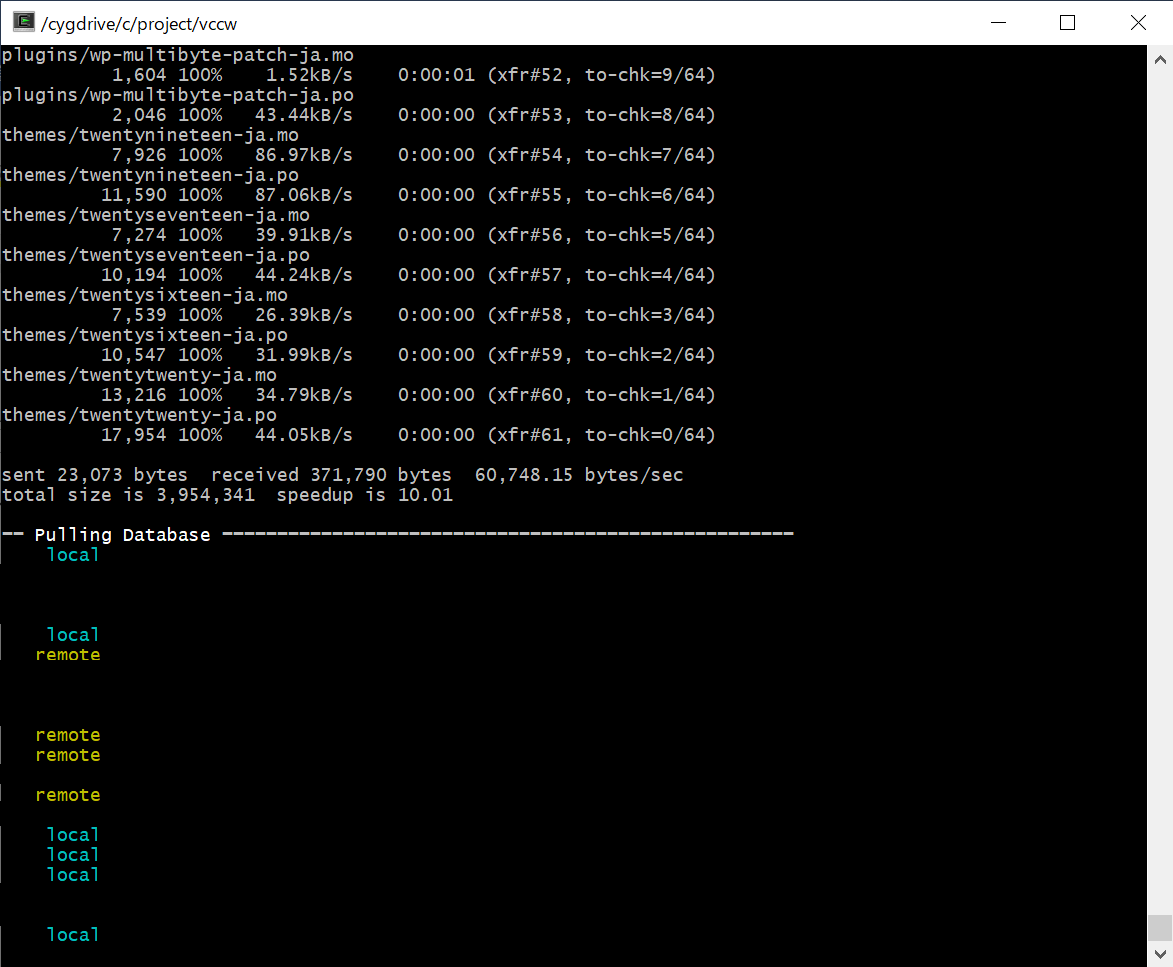
$ wordmove pull -all
サイトの規模にもよりますが、概ね10分程度でファイルの転送は完了します。
変更部分のみファイルを転送するので、変更部分が少ない場合は短い時間で終了します。
\wordmove 実行結果例/
VCCWローカル環境の動作を確認する
本番環境のデータがローカル環境にコピーされたか、確認します。
本番環境と同じ内容がローカル環境でも表示されれば成功です!

ローカル環境から本番環境へ
ローカル環環境から本番環境へデータをコピーする方法です。
cygwinのウインドウでvccwのフォルダまで移動しコマンドを実行します。
cygwinは、windowsのドライブが/cygdrive/を指定することででアクセスできます。
例えば、C:\project\vccwに移動したい場合は、cygwinウインドウでは、以下のパスになります。
「/cygdrive/c/project/vccw」
cd /cygdrive/c/project/vccw で移動し、以下のコマンドを実行します。
Cygwin
$ cd /cygdrive/c/project/vccw
$ vagrant ssh
$ cd /vagrant
$ wordmove push -all
wordmove主要コマンド一覧
| コマンド | 意味 |
|---|---|
| wordmove pull ––all | WordPress 全て |
| wordmove pull –w | wp-contentフォルダの配下全て |
| wordmove pull -t | テーマファイル(themeフォルダ以下全て) |
| wordmove pull -d | データベース(記事データなど) |
| wordmove pull -p | プラグイン |
| wordmove pull –u | uploads(uploadsフォルダ以下全て) |
| wordmove pull -s –d | -s(ドライモード)でデータベースを持ってくる ドライモードは実際にはデータをやり取りしない試行モード |
| woedmove -h | ヘルプ。コマンド一覧使い方が表示される |
これであなたも今日から
本番環境とローカル環境の同期が
できるようになります!

